I needed a DIY Monitor Hood for a while now, but was not willing to pay the amount of money they charged for them, so I decided to build one myself. In this tutorial, I show you how to build your own DIY Monitor Hood for less than 12$!
I searched a bit on the web and found a few tutorials on how to build one, I just let myself be inspired by several of them and started building one myself.
Material prices are German prices so it may vary in your location but should be about the same, I spend less than 12 Euros myself.
Disclaimer: I am not the most skilled craftsman, so you see scratches on my hood, nonetheless, it works!
What you need
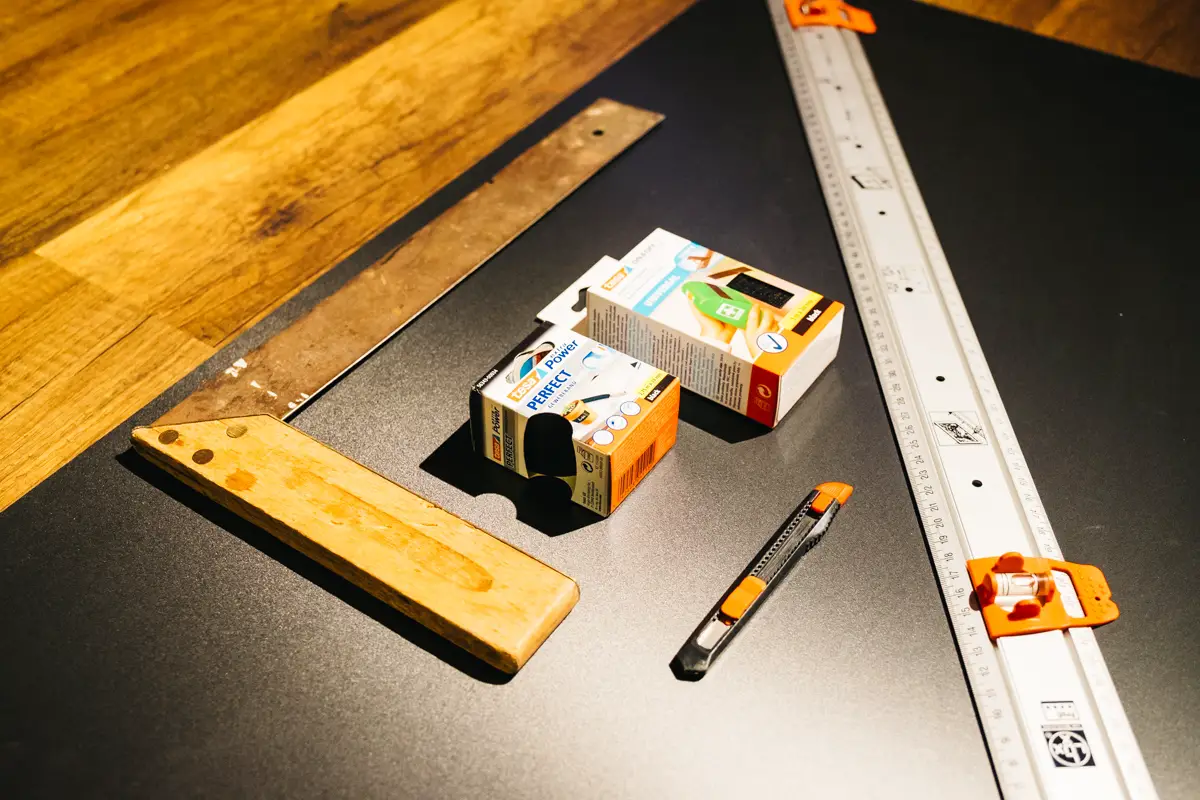
- Hard Foam Board – Measure the size of your screen first so you know which size to buy. I got 100 x 50 cm.
- A box cutter
- An angle finder (not exactly sure that’s the name of t he tool, it’s the one with the wooden handle in the pic above)
- A scale
- Some Fabric Tape
- Some Velcro Tape
- Something to protect your floor while cutting the foam board
- Patience and a calm hand 🙂
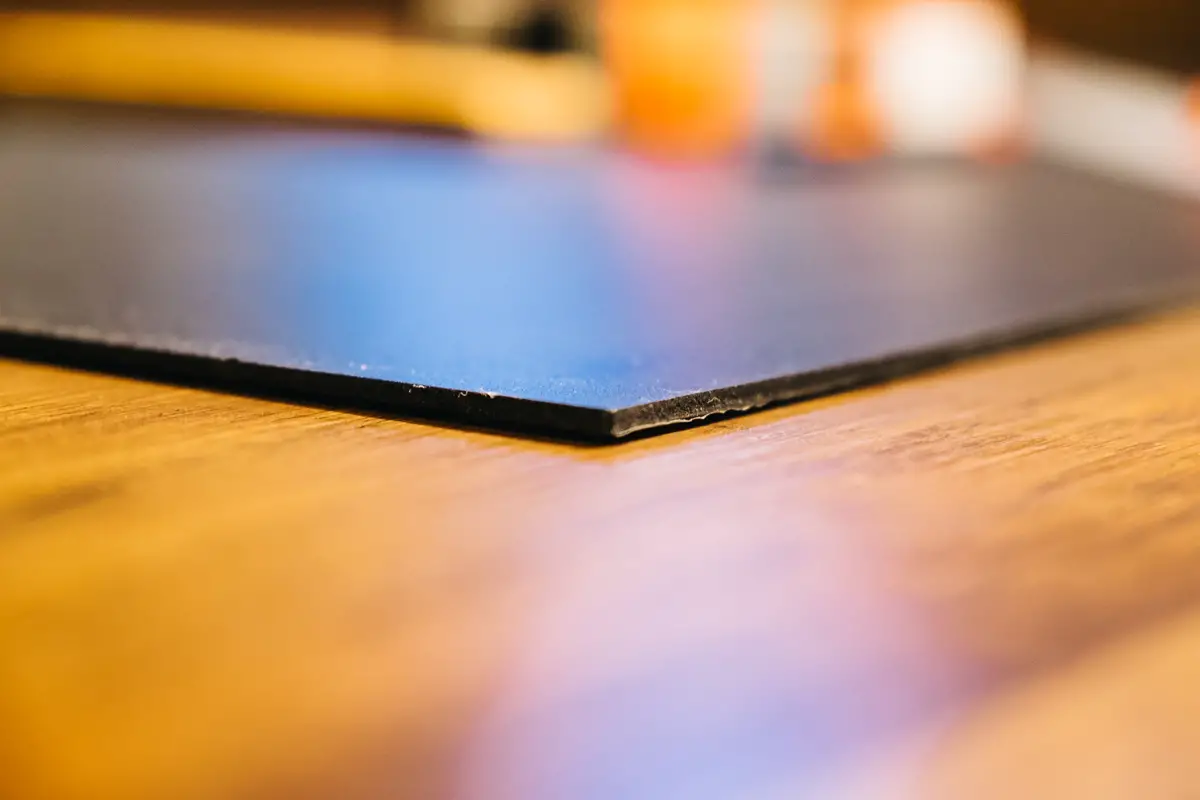
The thickness of my foam board is about half a centimeter:
Step 1: Measure and go shopping!
First measure the width and height of your monitor, go to the hardware store or order the components from Amazon. (Links on top).
Step 2: Draw your measurements on the foam board
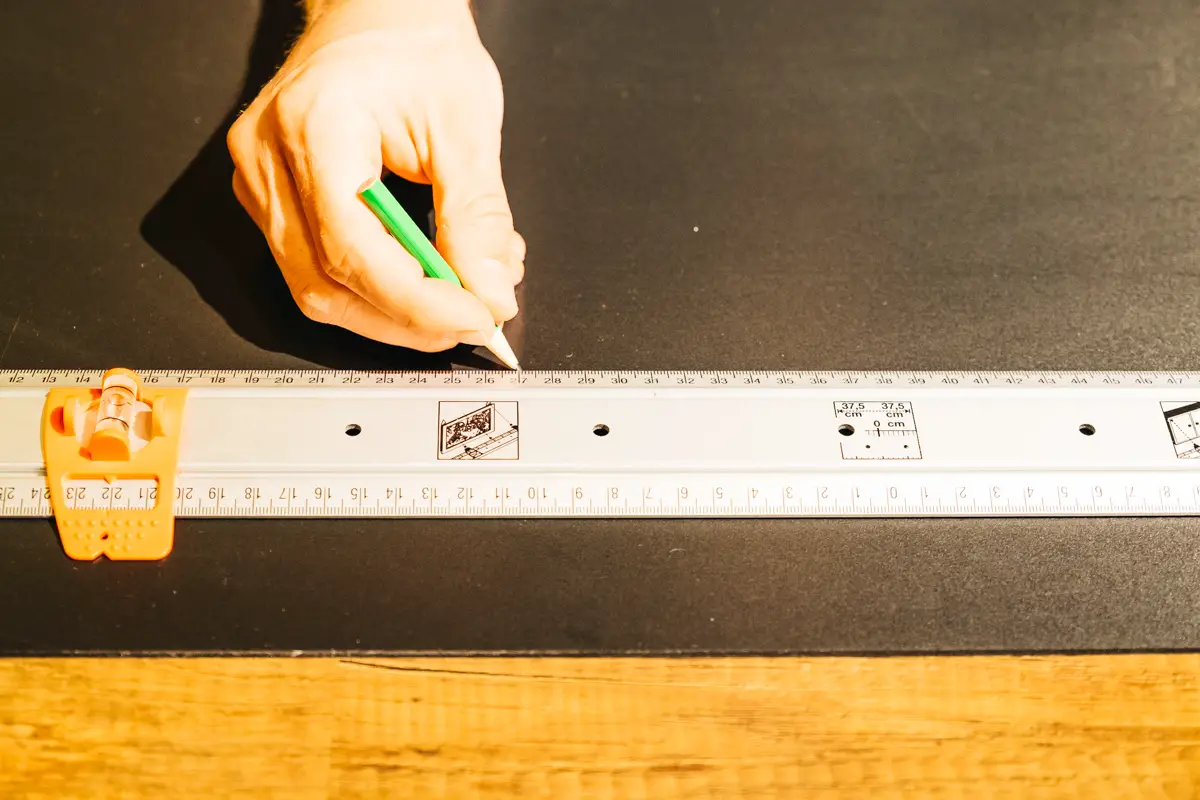
The size of your monitor surely varies, but to give you an idea:
The width of my monitor (top part) was 56cm.
The height of the sides of my monitor was 36cm.
For all parts, top and sides, I chose to go 20cm deep.
So in my case you end up with 3 parts:
- 1x 56cm x 20cm
- 2x 36cm x 20cm
20cm is a good depth and seem to be about the same depth of the DIY monitor hood you can buy pre-built.
Step 3: Cutting out the parts
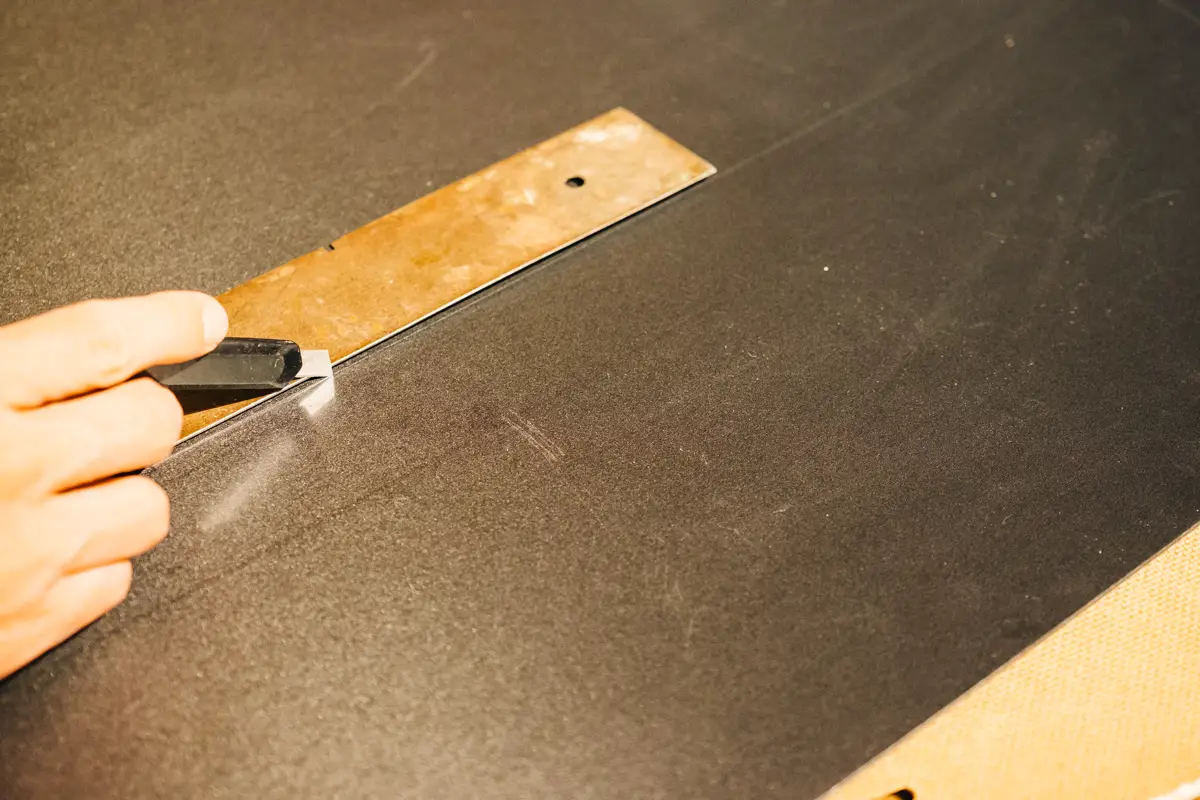
Take out your angle finder and your box cutter and cut out the pieces you were just drawing. Use the angle finder to make sure you cut in a straight line!
You don’t need to put too much pressure, the foam board cuts easy.
MAKE SURE YOU PUT SOMETHING UNDERNEATH THE FOAM BOARD TO NOT SCRATCH YOUR FLOOR!
Step 4: Results
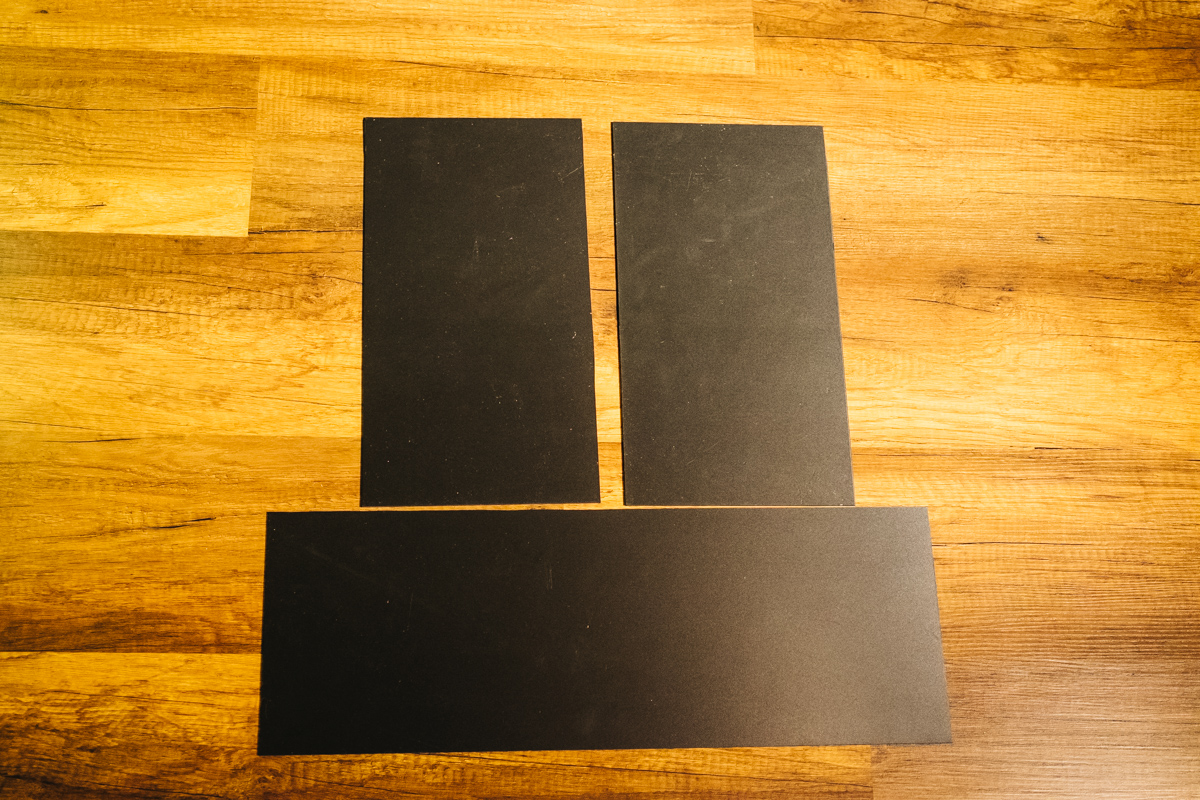
If all went well, you should end up with something like this.
Step 5: Modifying the side panels
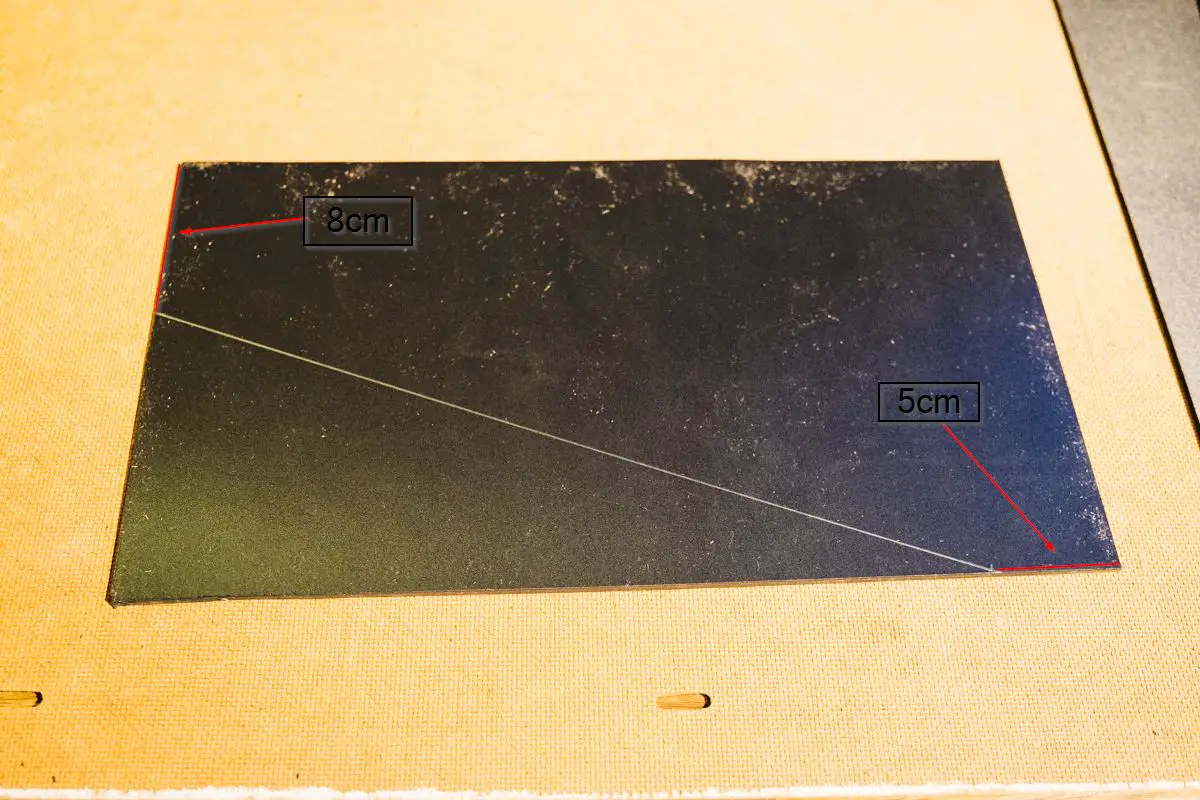
Now we need to measure the angle of our side panels and cut it out.
I went for:
- 5cm from the top
- 8cm from the bottom
And you end up with this:
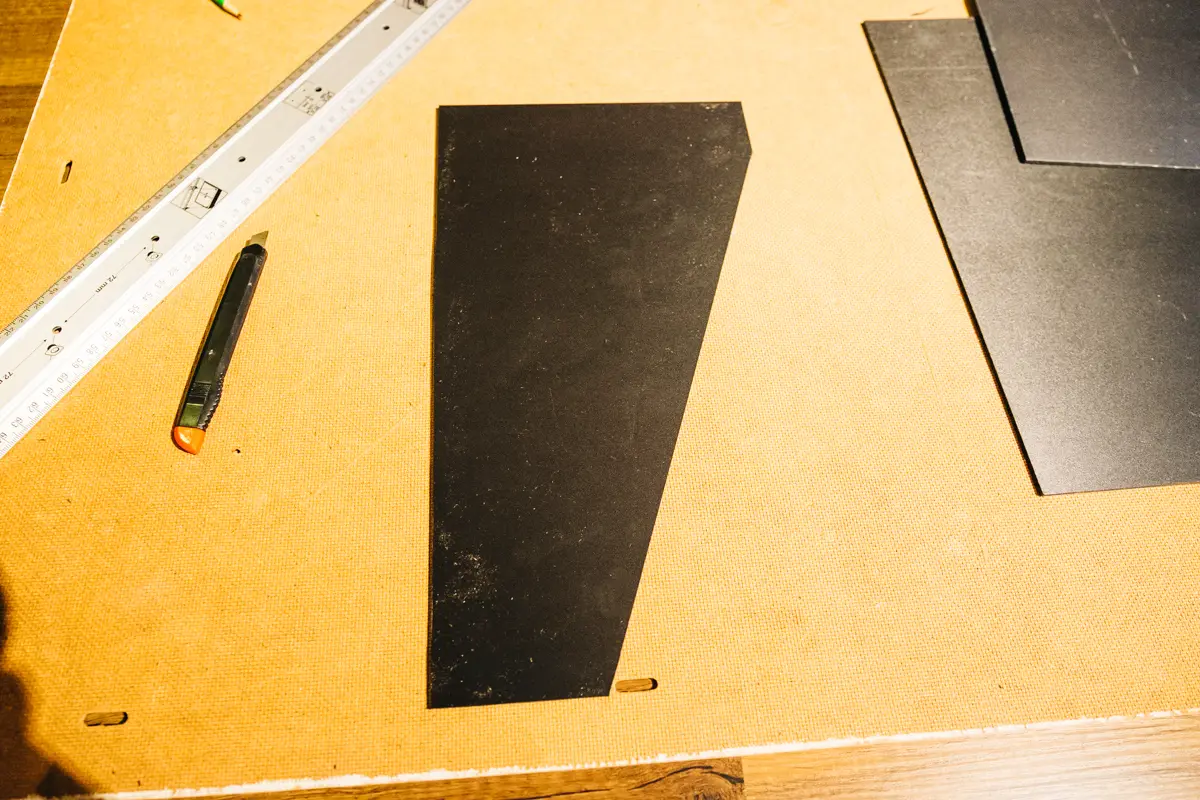
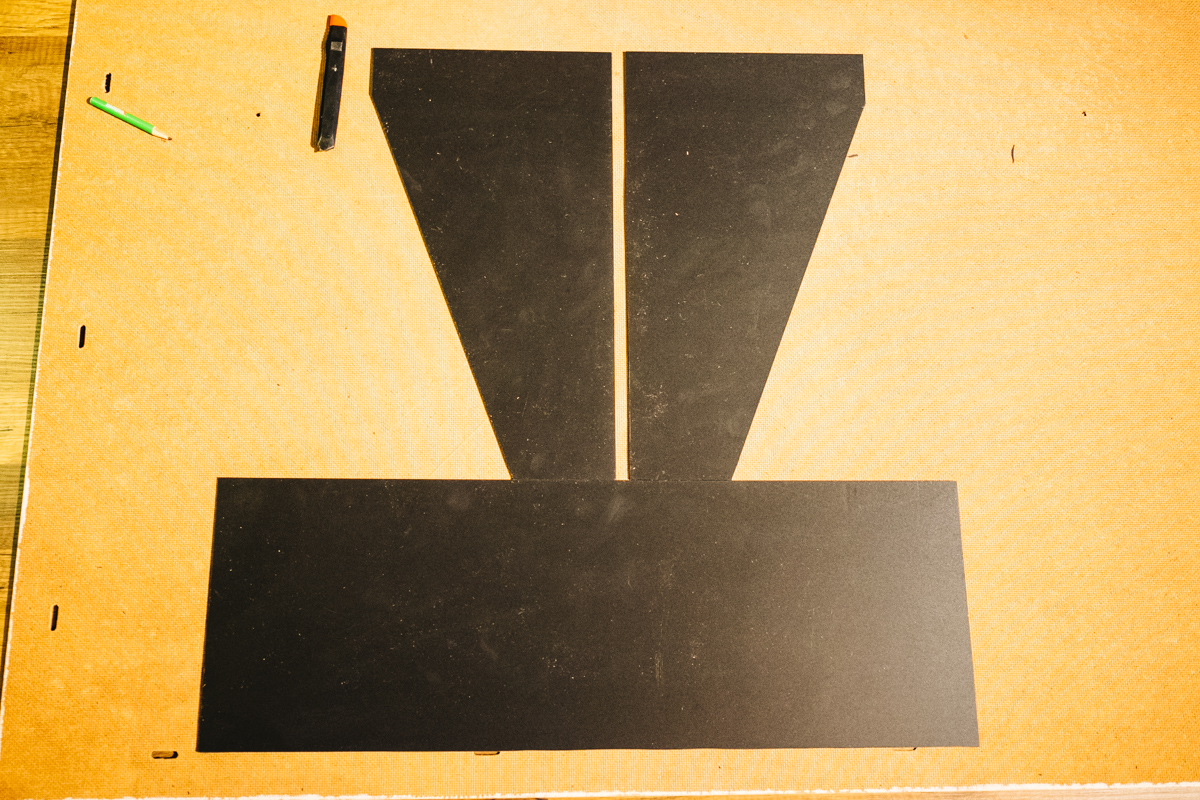
Now take this side panel as a template to cut out your other side panel.
The result should look something like this:
Step 6: Cutting out a hole for your calibration device
Of course, if you put the effort in making a DIY Monitor Hood, you are probably also calibrating your screen with a monitor calibration device.
I recommend using DisplayCAL to calibrate your screen and not the Spyder software, a tutorial on how to do this is here.
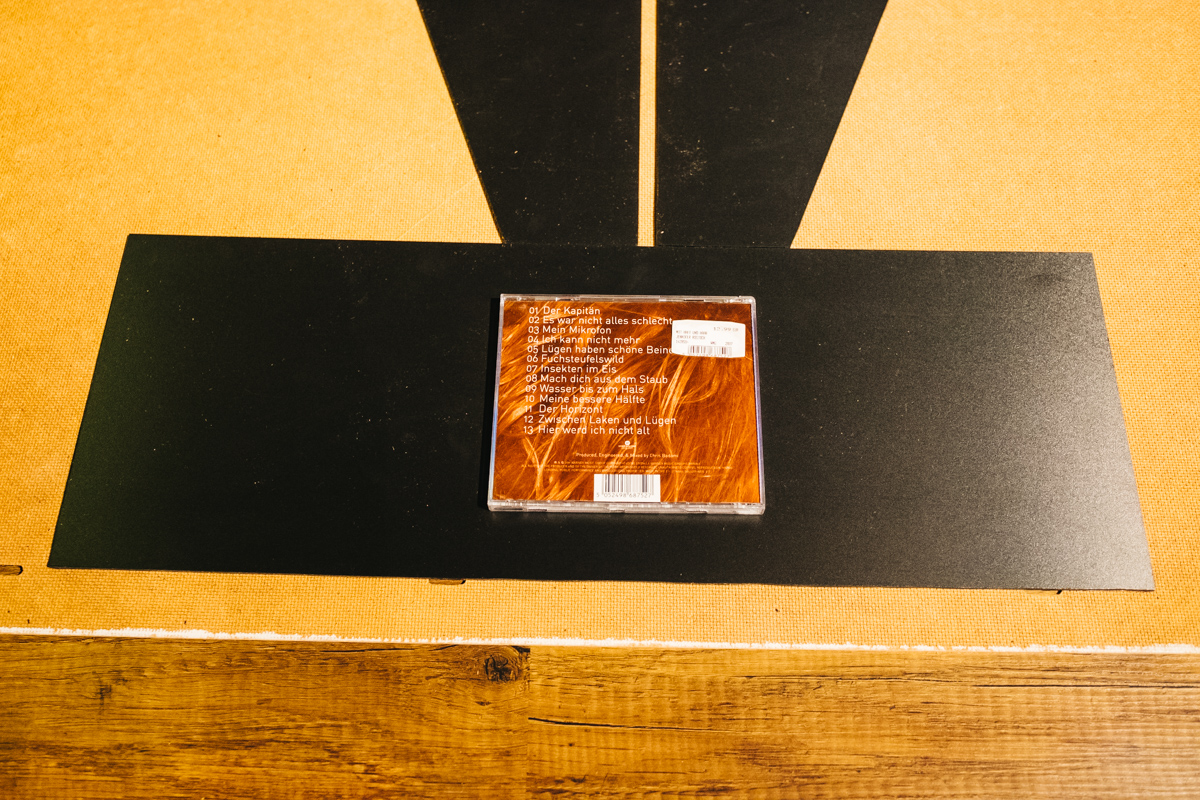
Just use a standard sized CD-Case to take a measurement.
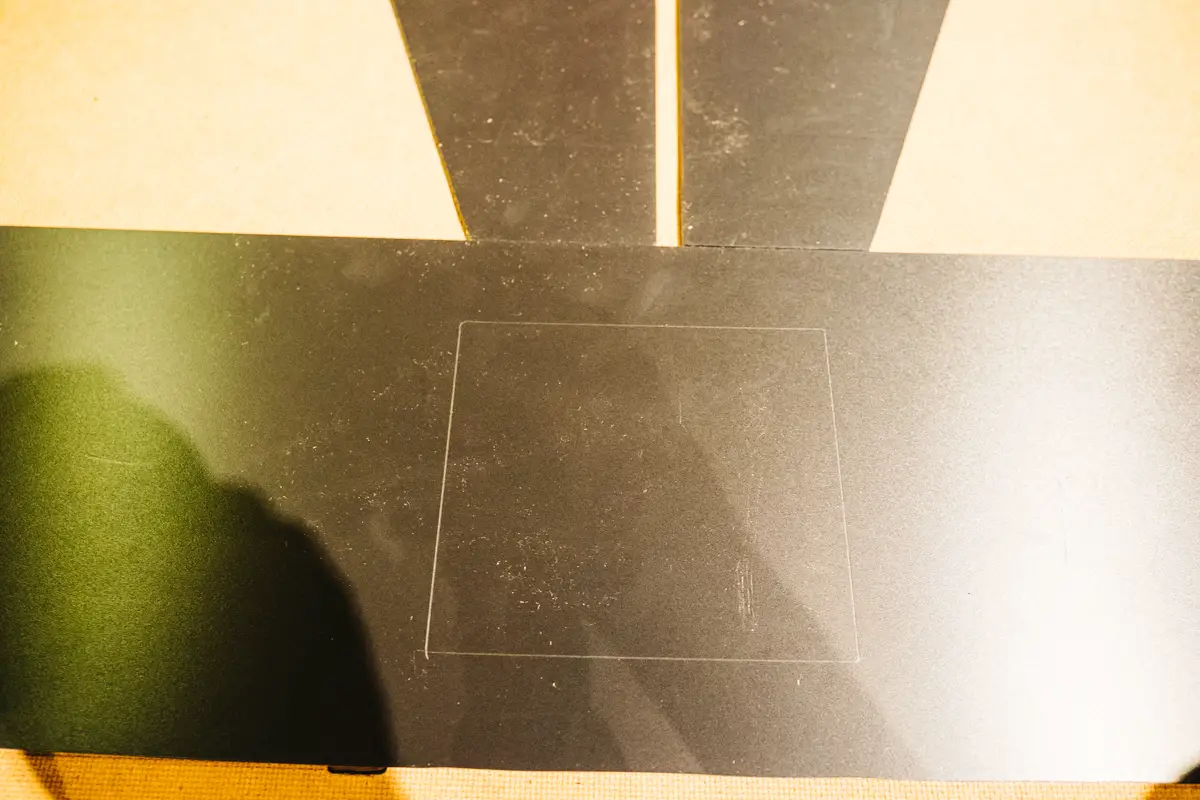
Now cut that out. Use your angle tool again to make it straight. I messed this part up a little and didn’t cut exactly straight.
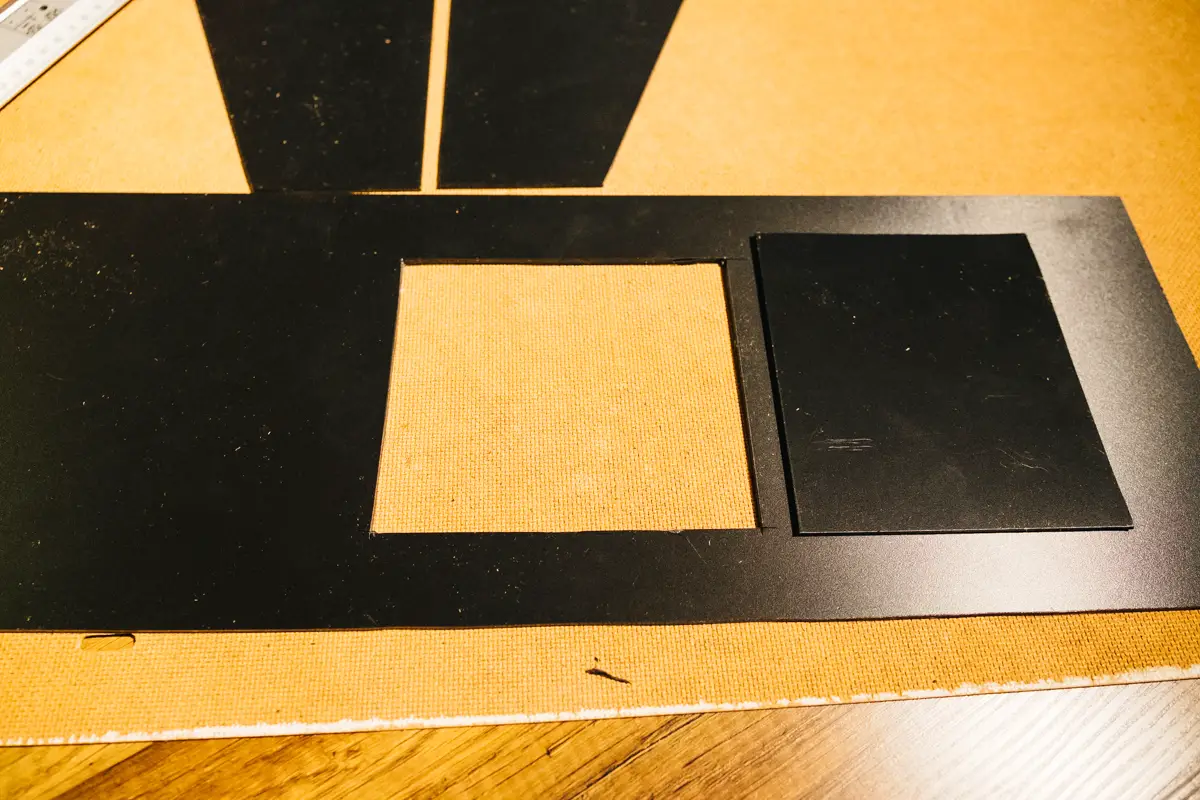
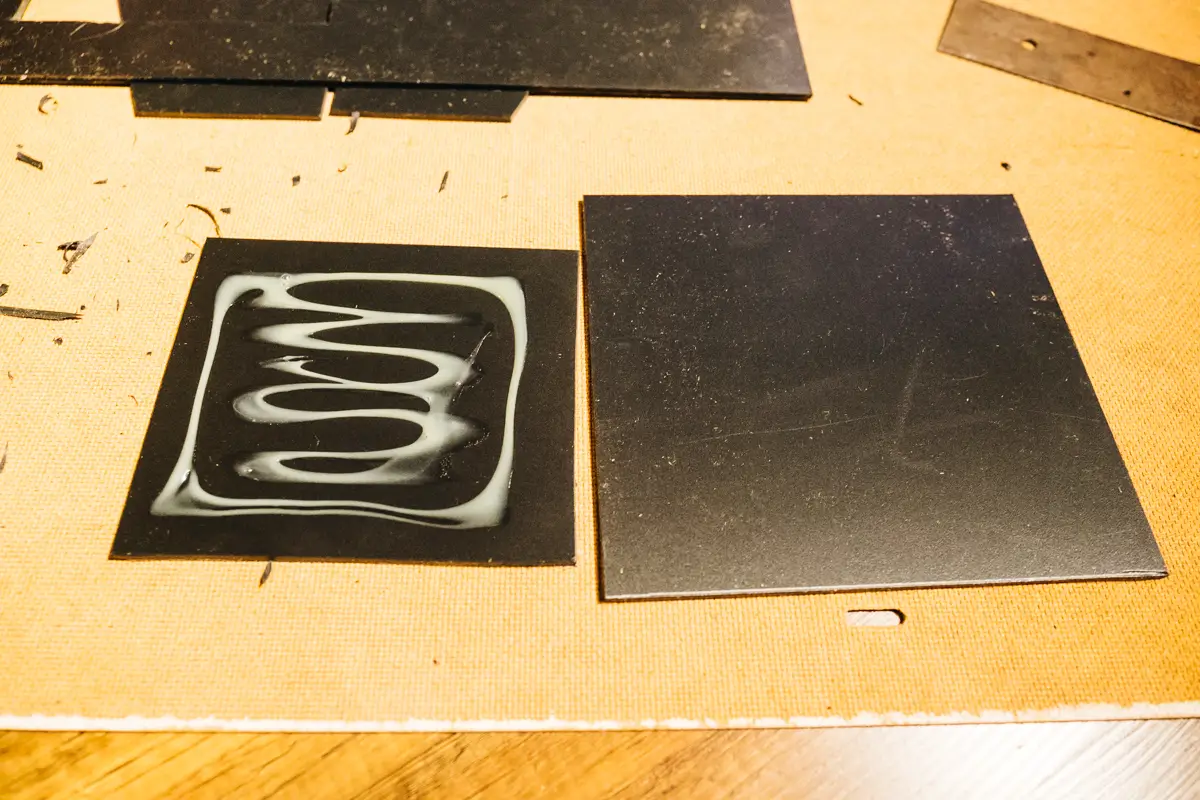
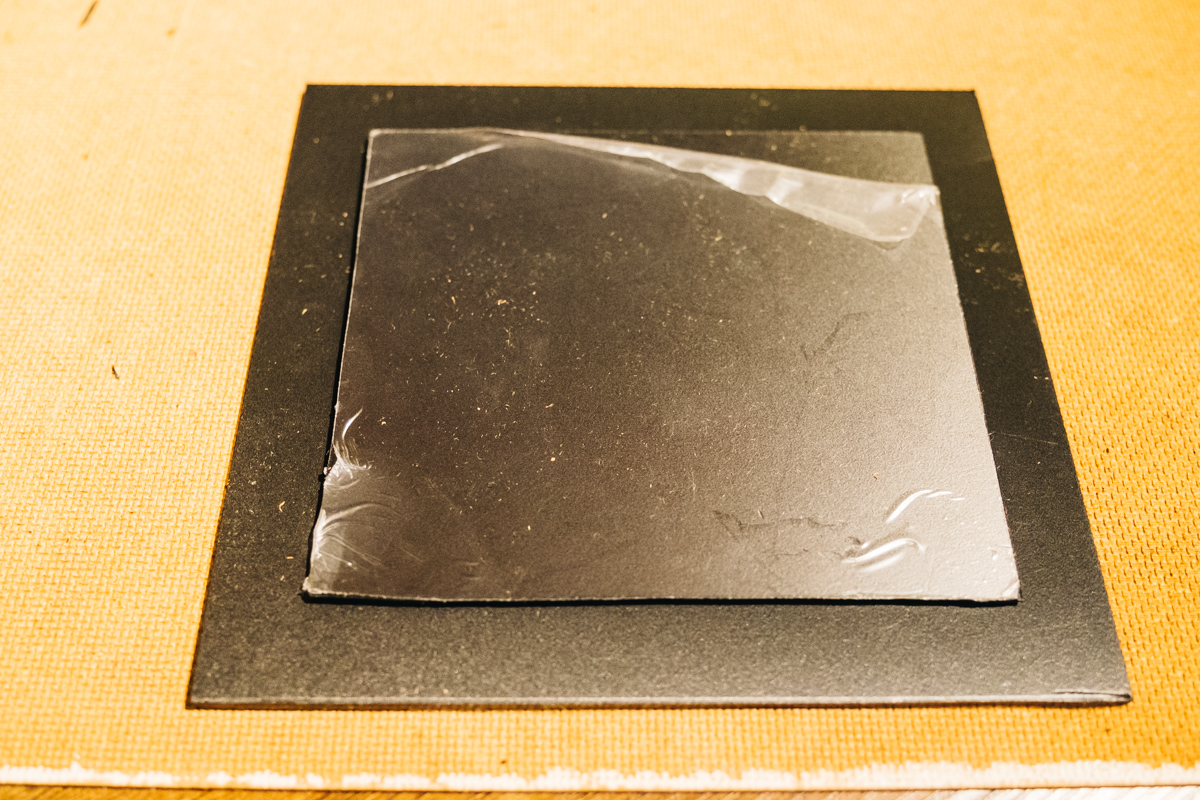
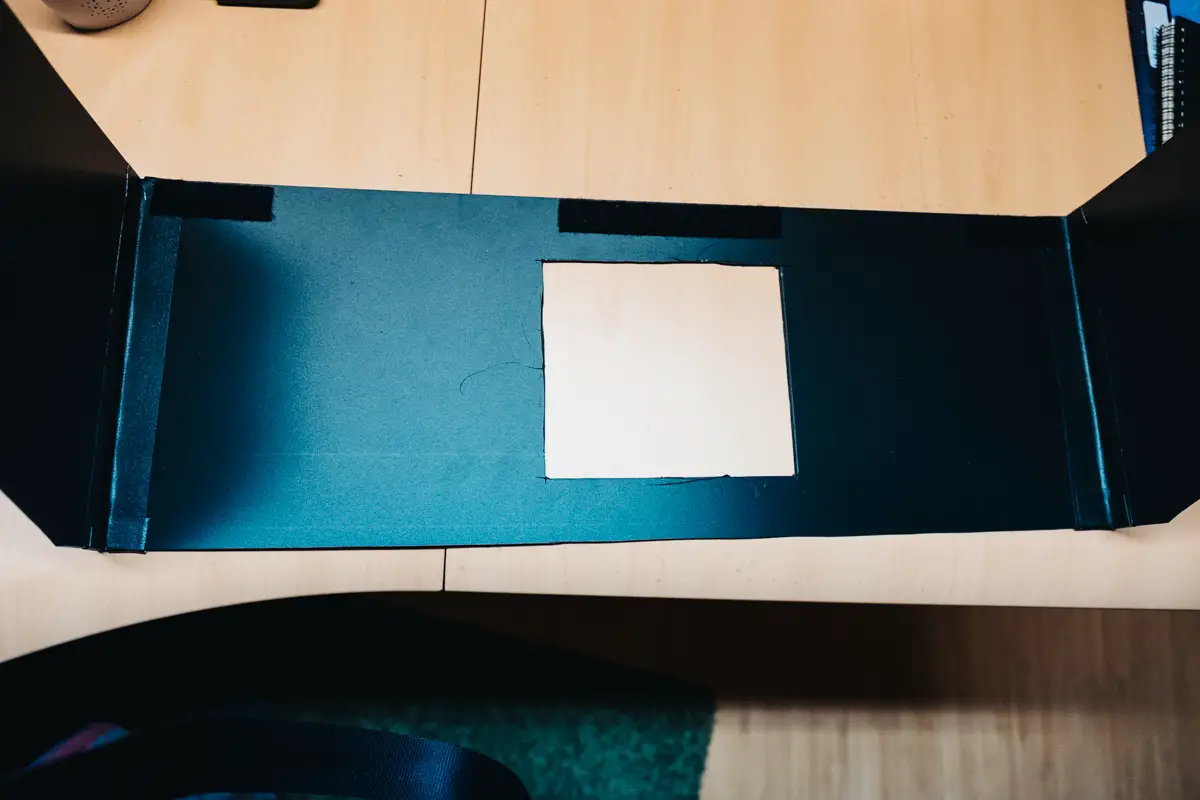
Now take that cutout piece and place it somewhere on the rest of the foam board that you got left (NOT ON YOUR CUT OUT PANELS!) and make sure you got a 2cm border around it.
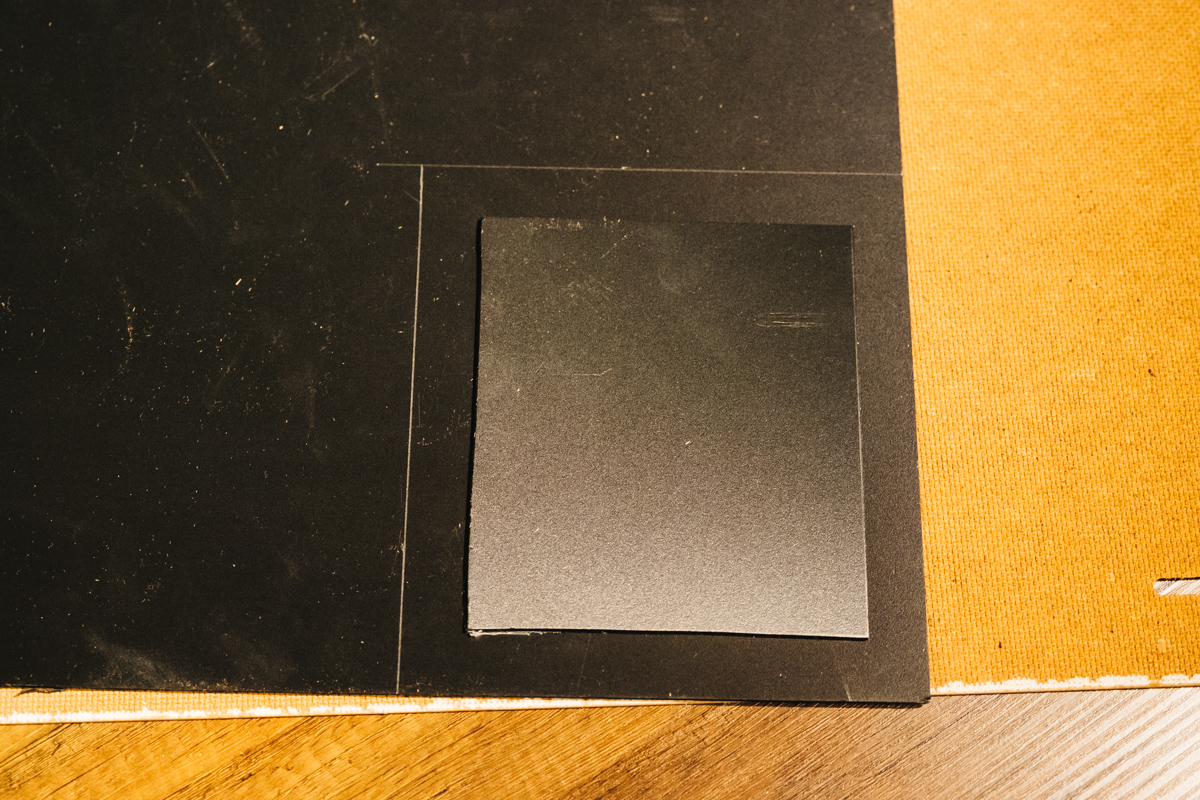
Now you want to glue the small part in the center of the big part you just cut out. This will make a nice cover for the hole of our calibration device.
Perfect! Well done, we are getting closer to the end.
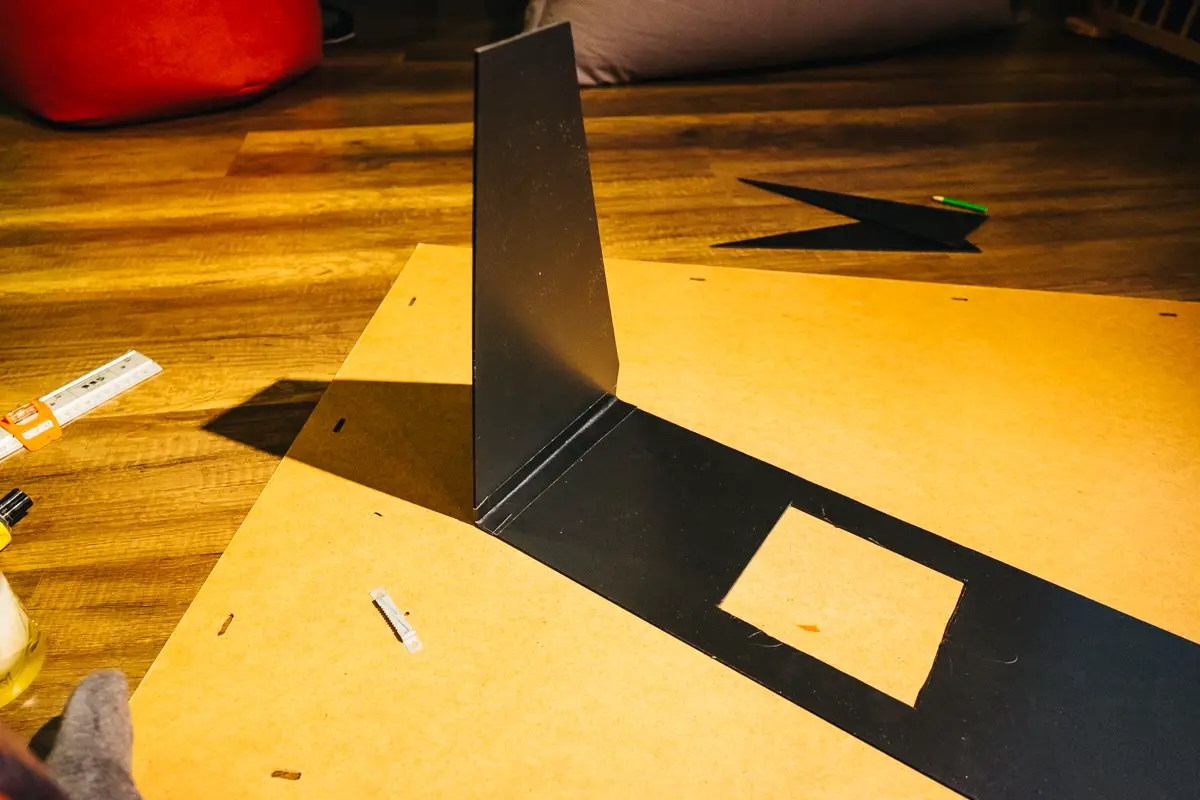
Step 7: Taping our DIY Monitor Hood together
Now it’s time to get that Fabric Tape out and tape our side panels to our top panel.
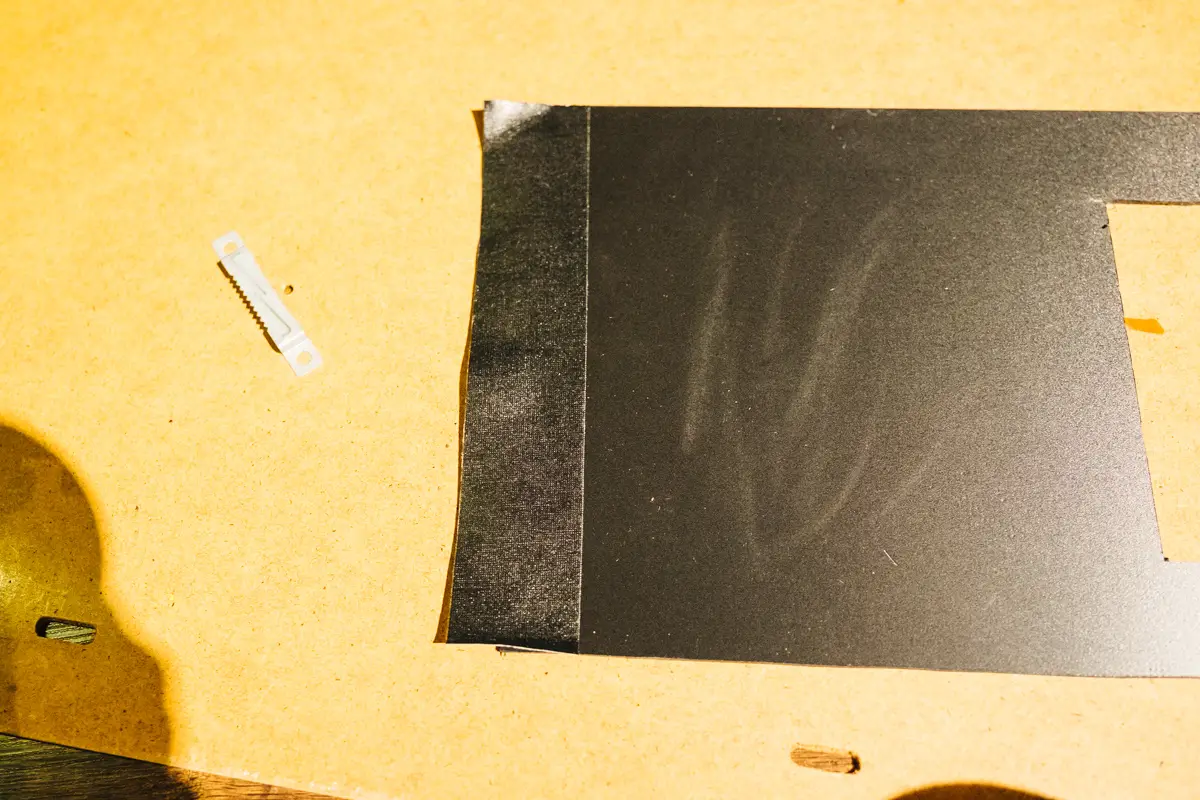
Now add a stripe of tape to the top side of your top panel, so the side that is facing away from your screen.
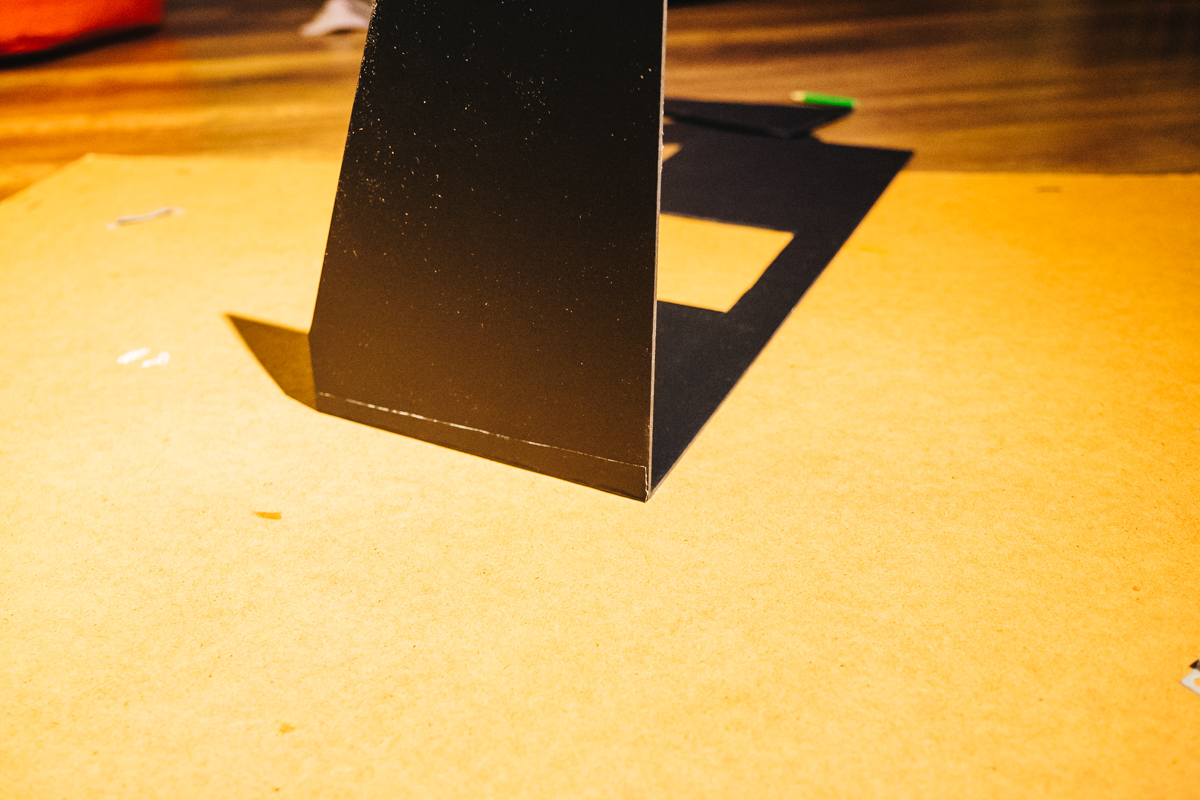
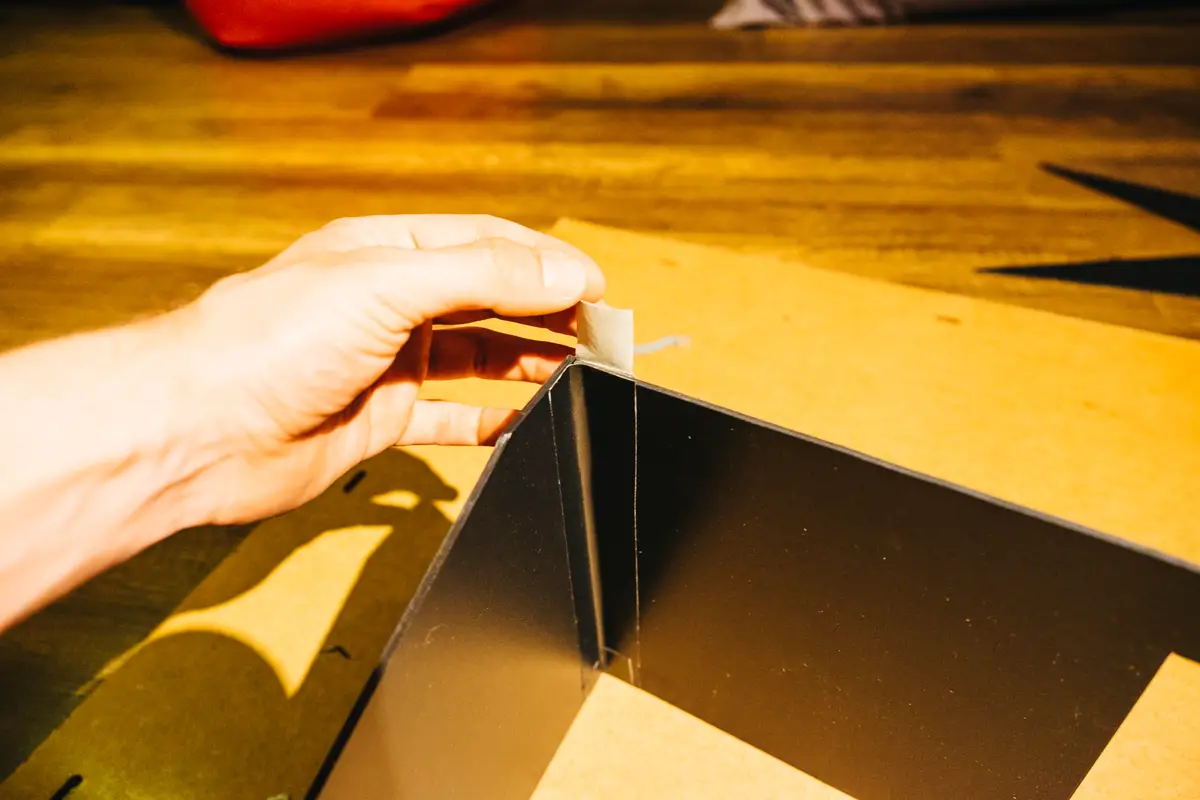
Place your side panel to fit exactly together with your top panel and fix the tape. Hold the panel to ensure it’s not falling down before you fix the tape on the inside.
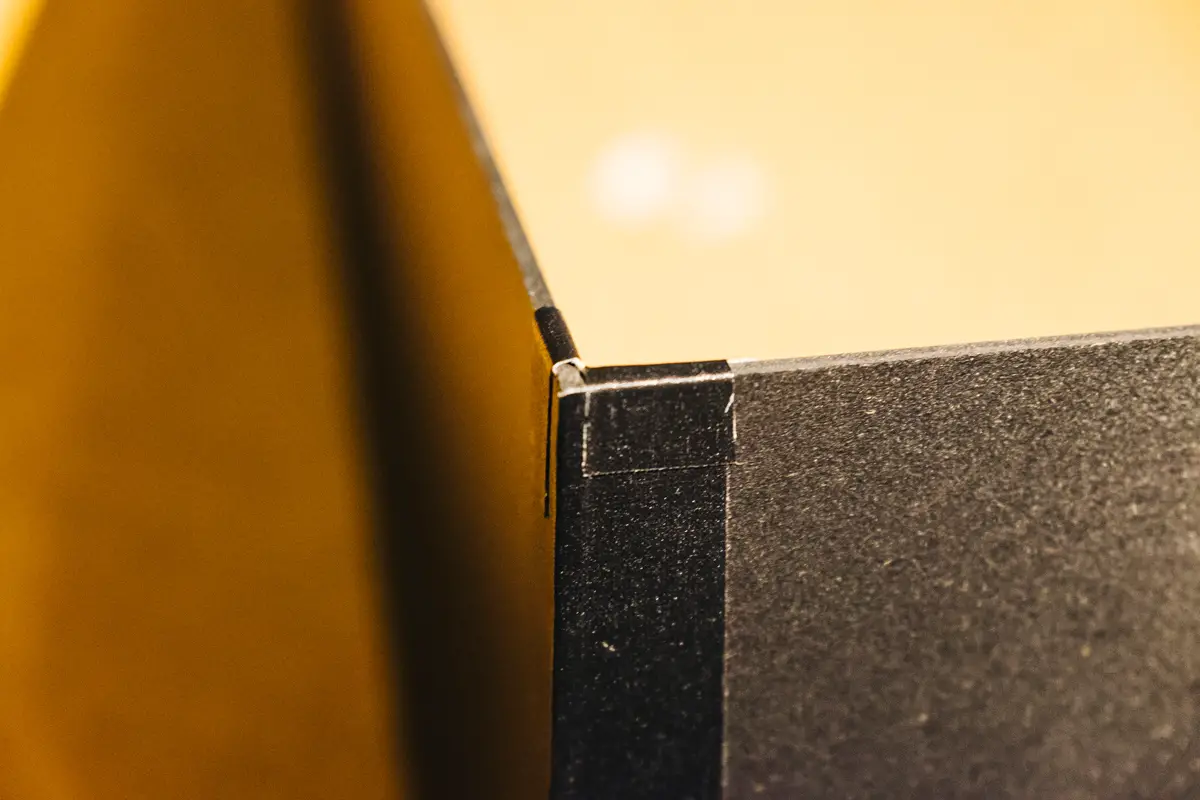
Make sure you really press that sucker tight on the panel, if done right, it should be holding pretty well and be able to stand by itself.
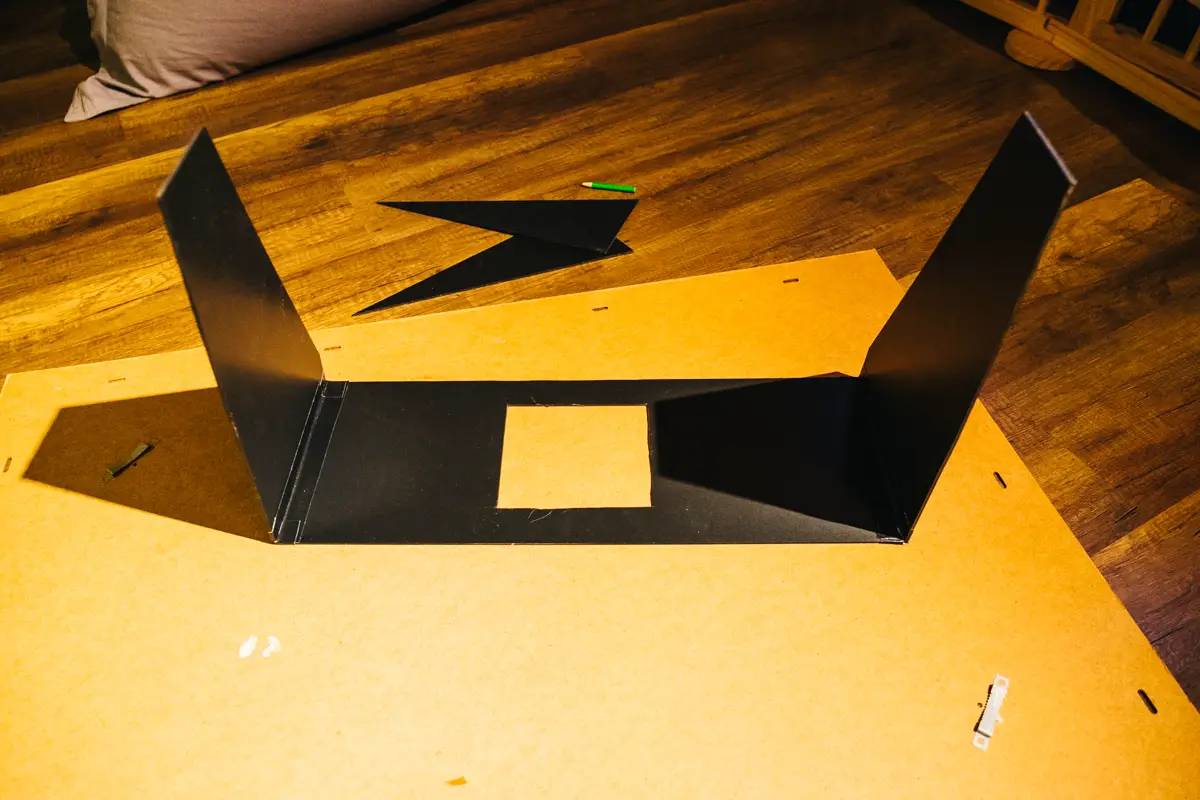
Now repeat that process on the other side. If you did everything right, you end up with something like this:
Step 7: Add Velcro Tape!
Now it’s time to cut and add velcro tape to both, our DIY Monitor Hood and our monitor.
In the pictures I just added 5 pieces overall, but after I finished everything I found that adding 2 more small pieces on the sides between the top and bottom helped to give a little more cover from the light and make it look a little tighter on the monitor, but try as in pictures first and in case add another piece of velcro.
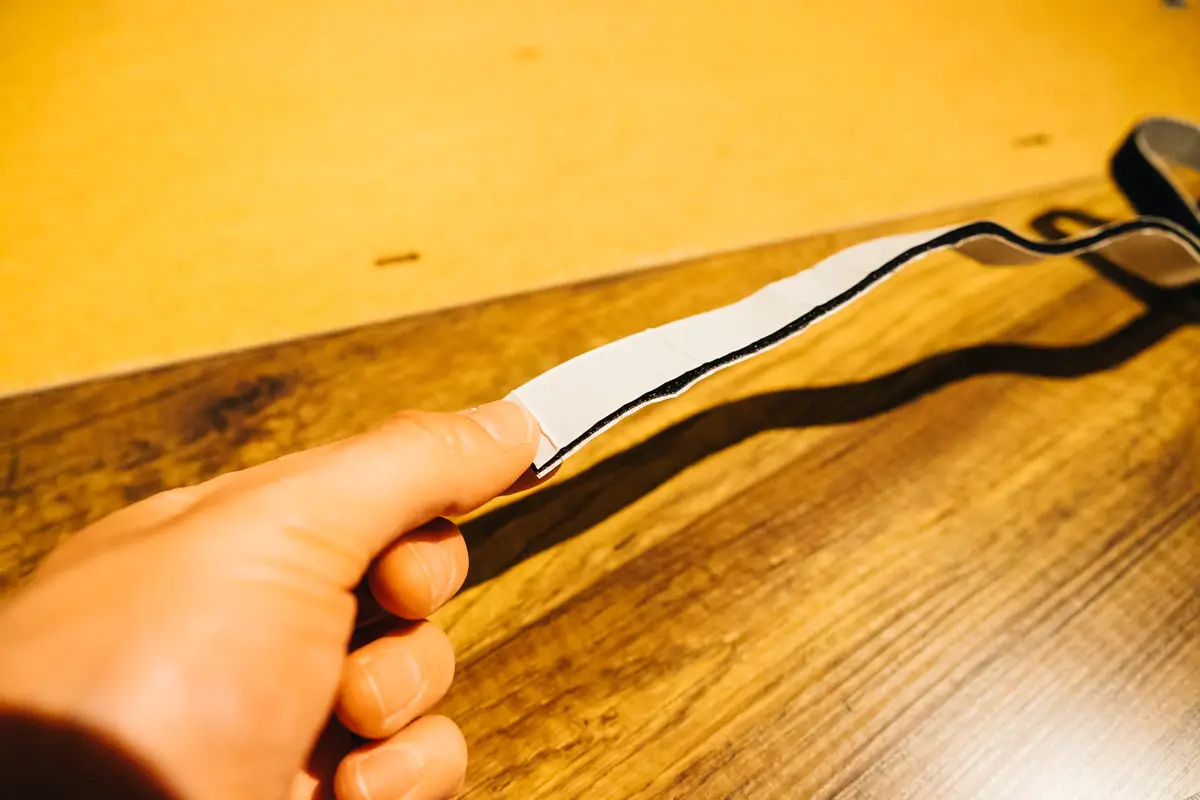
First stick your velcro tape together if it not already is, to make cutting pieces easier.
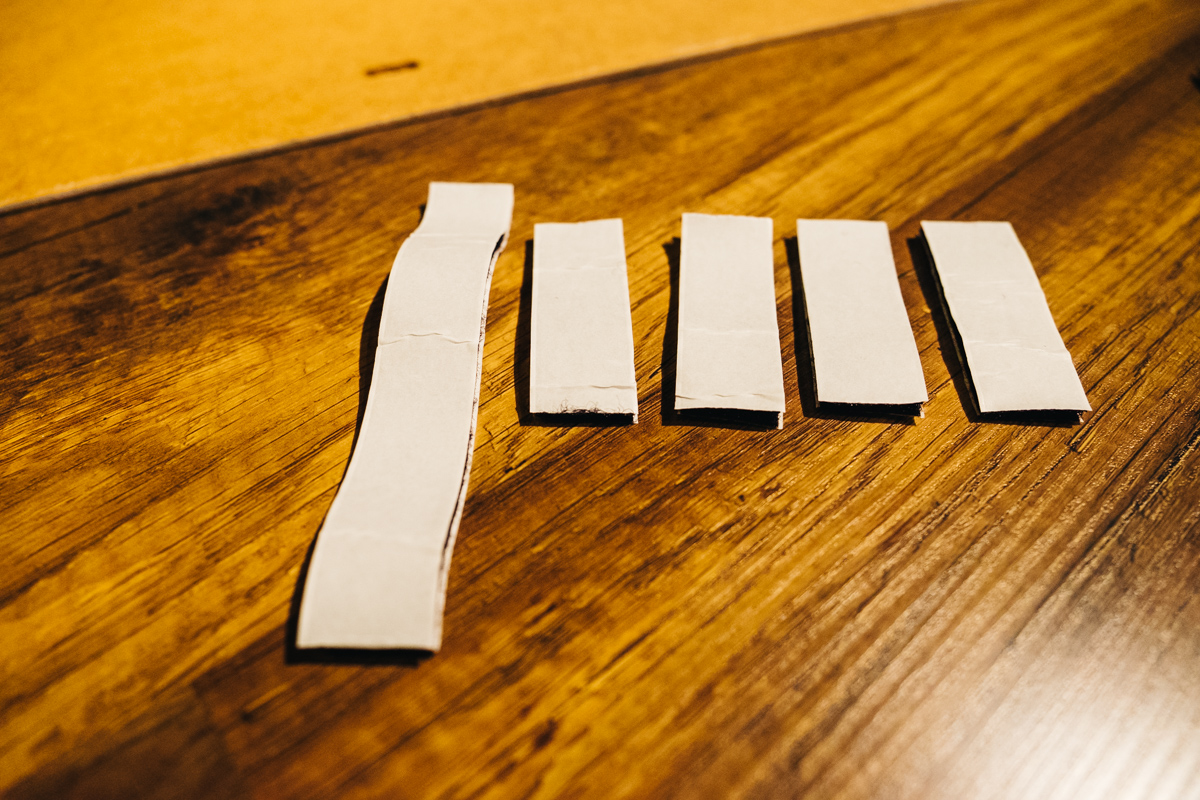
Now cut out 5 pieces.
- 4x 2cm long
- 1x 6cm long
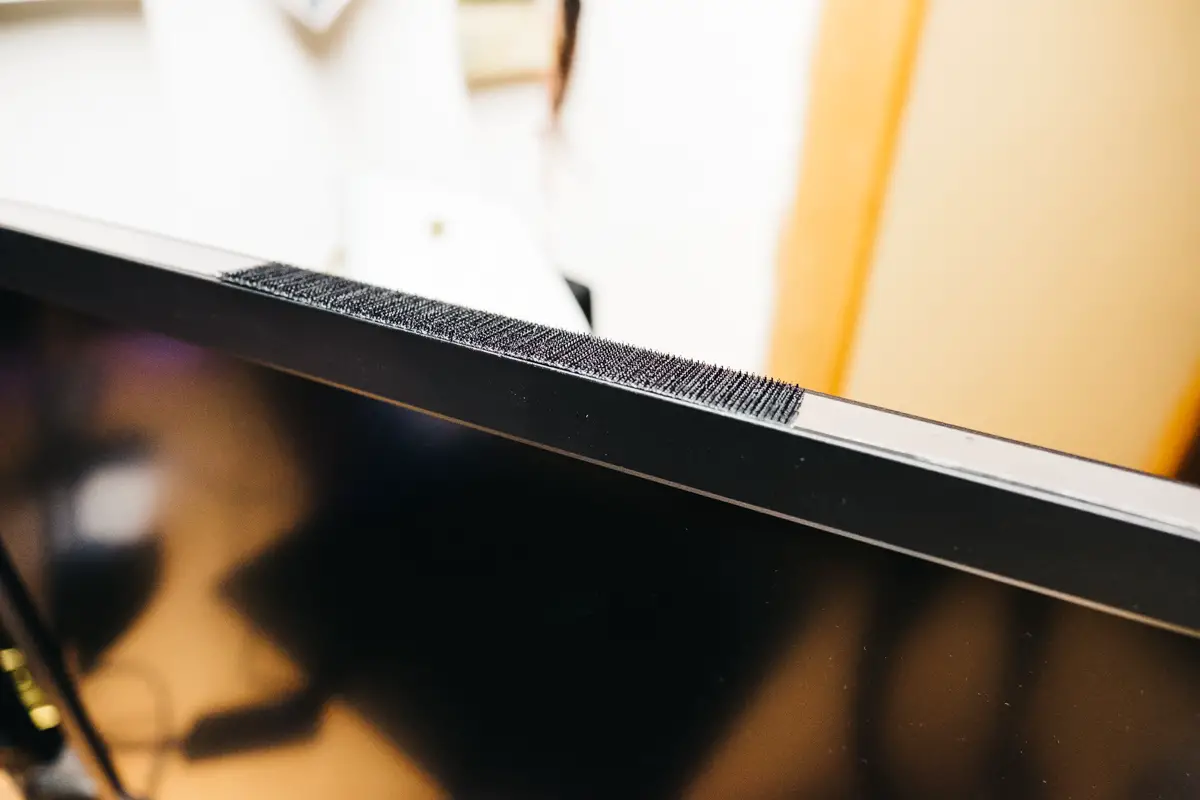
Place the longest velcro right on the center top of your screen.
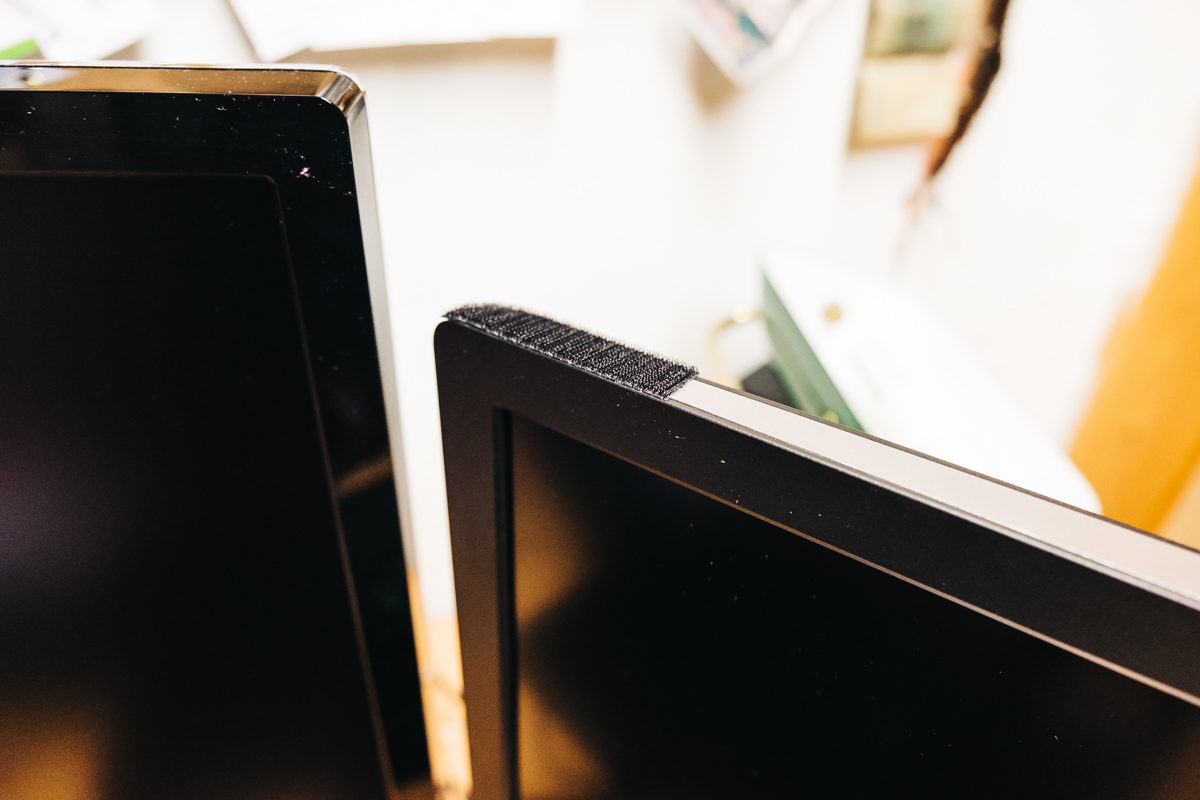
Place 2 short pieces on the corners of the top.
Place 2 short pieces at the bottom of your monitor’s side.
Now add the counterparts at the exact same locations on your DIY Monitor Hood. I was just holding it against my monitor and then placing the tape on the monitor hood. Fairly easy.
Part 8: Attaching the DIY Monitor Hood to your monitor!
And you are almost done!
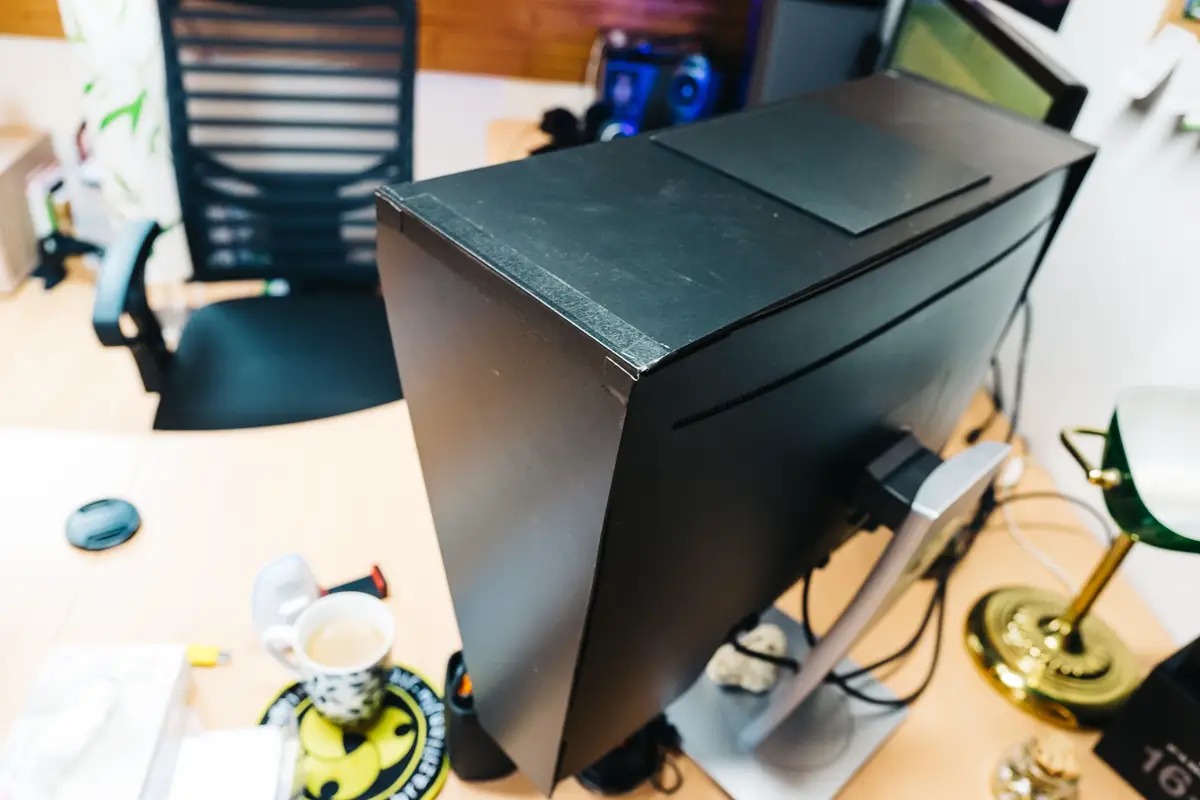
Now just attach the DIY Monitor Hood onto your monitor and make adjustments if necessary (or add more velcro if it’s not tight enough for you).
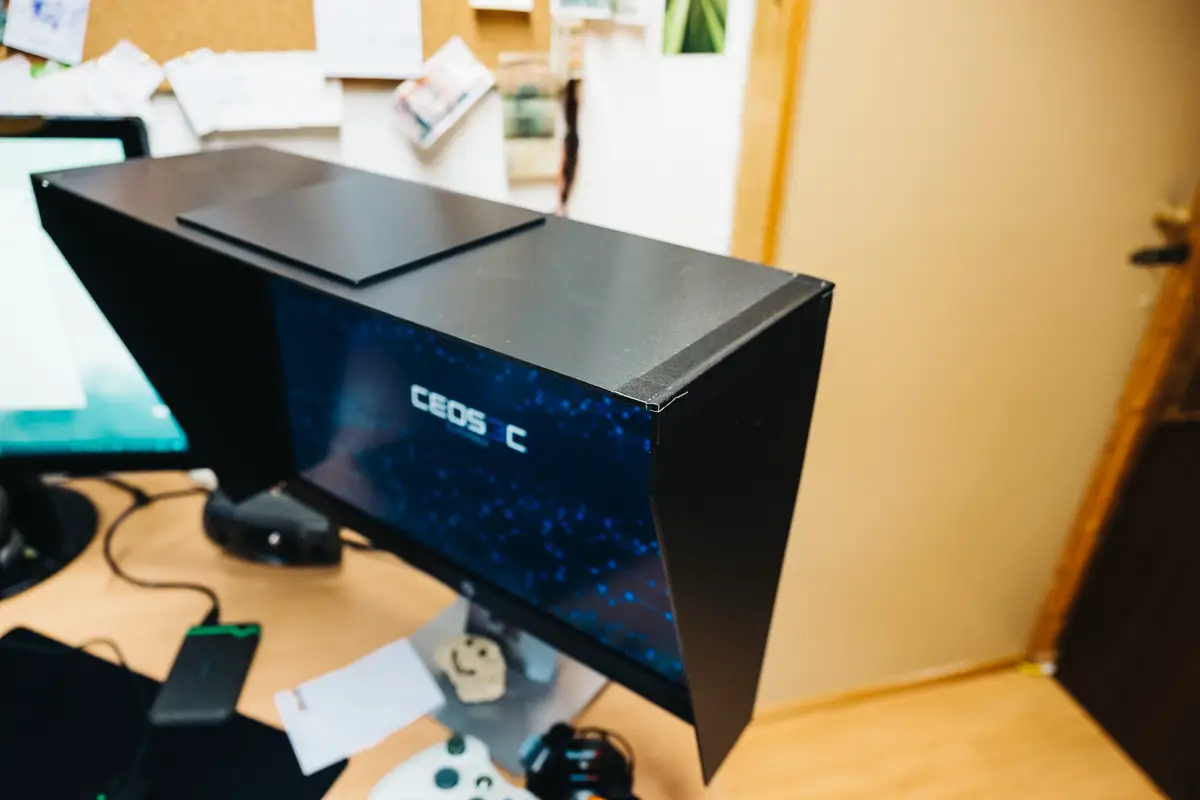
Well done guys! You just saved yourself a whole bunch of money and if you are more skilled with handicraft then I am, you probably have a prettier result, too 🙂
I worked with this hood for a few days now and it is amazing. Really makes a difference, especially if you use 6500k light bulbs in your working room to process your pictures.
This was a cool project for me, really easy to do even for the unskilled.
If this helped you out, please consider clicking on some affiliate links to support me for providing this guide for free 🙂
Thanks for reading!
What an excellent idea. I will be getting the material this evening to give this a go for my 2 monitors. Thanks a lot.