
A step-by-step tutorial on how to install ParrotSec on VirtualBox.There are a couple of alternatives to the well-known security distribution Kali Linux. ParrotSec and BlackArch are probably the most known ones. Today we will have a look at how to install ParrotSec on VirtualBox.
The process is pretty straight-forward so you will have no issue following along.
Let’s dive right in!
Step 1: Downloading and installing VirtualBox
Head over to the Oracle VirtualBox Website and download the newest version of VirtualBox.
Install it after you downloaded it, leaving everything on default.
Step 2: Downloading ParrotSec OS
Download the Parrot Security Distribution. Choose either 32 or 64 bit according to your System Architecture.
Once you have VirtualBox installed and downloaded the ParrotSec ISO file, we can go ahead and create our Virtual Machine.
Step 3: Creating the ParrotSec VM
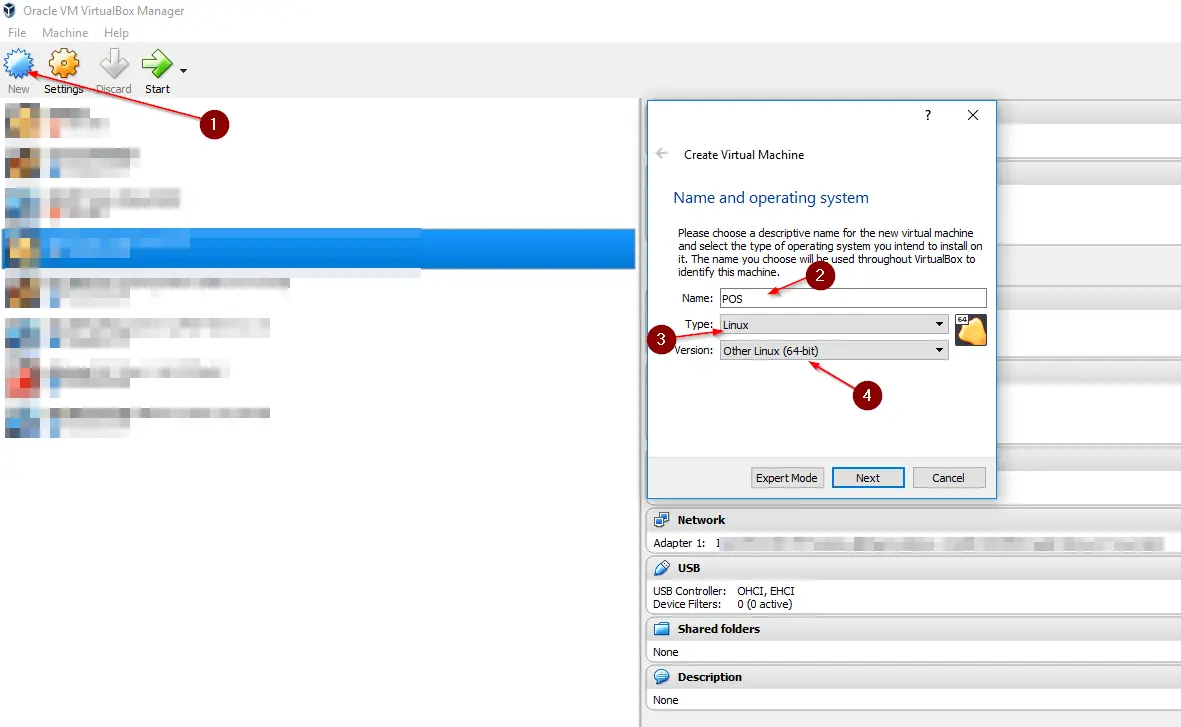
Alright, open VirtualBox and click on New to create a new VM.
Enter a Name, as System choose Linux and Other Linux 64bit or 32bit according to your architecture.
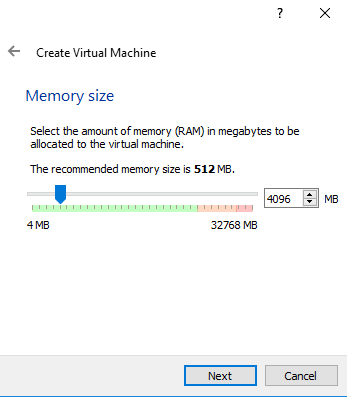
Next, we are going to allocate memory. I have plenty so I give it 4096 MB. Adjust according to your system memory. Allocating around 25-50% is fine.
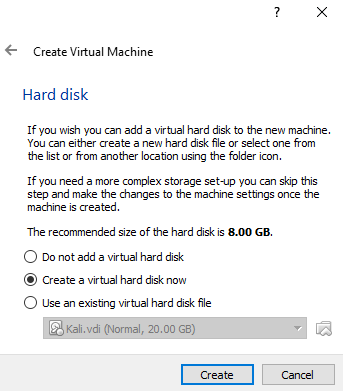
Now we create our Virtual Hard Drive. Choose to Create a virtual hard disk now.
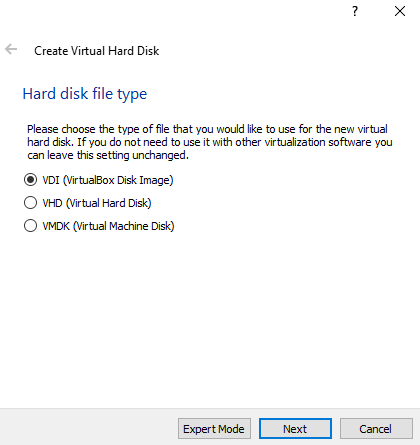
Leave the format on VDI for VirtualBox Disk Image.
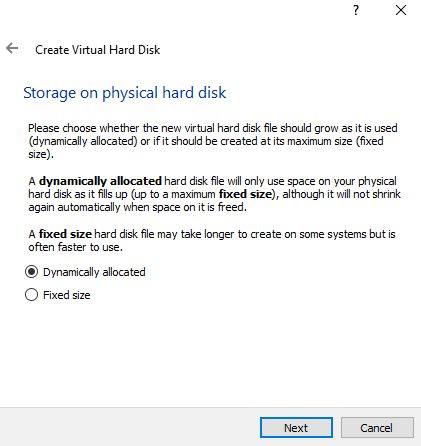
Next, choose Dynamically allocated.
This means, that if you choose let’s say a Hard Disk Size of 20GB, it will only take up space it’s actually using, not the full 20 GB. It fills up space over time to a maximum of 20 GB.
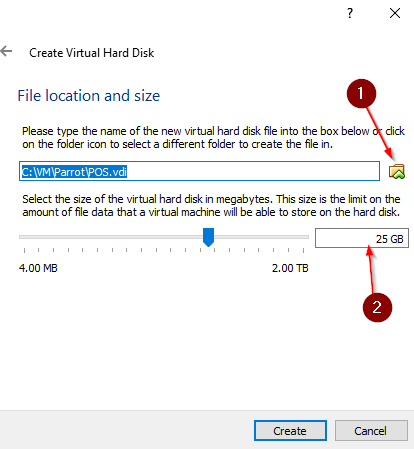
Next, we are going to choose a location where to save our .VDI file.
Choose a location that suits you best. Preferably an SSD drive.
Click on the little folder on the right side to choose a location, then adjust the Disk Size.
I’ll give it 25GB so it has some room to grow (Wordlists etc.)
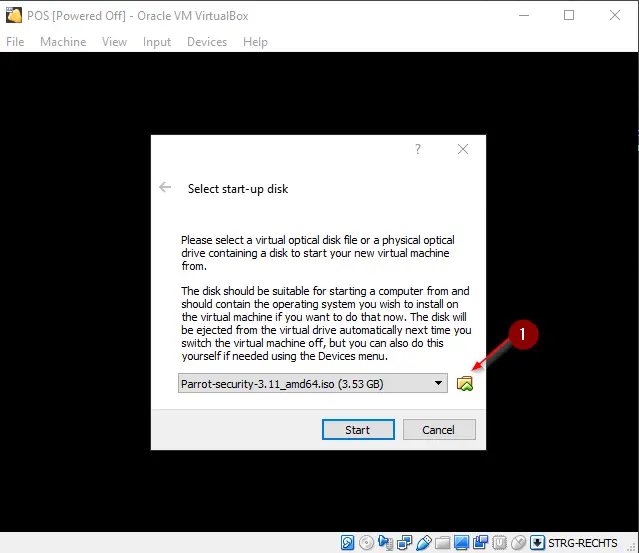
Now go ahead and start your VM. You will get asked to provide the path to the ParrotSec.ISO file you downloaded earlier.
Click on the folder and specify the file location, most likely C:\Users\YourUserName\Downloads.
Hit Start.
Step 4: Installing ParrotSec
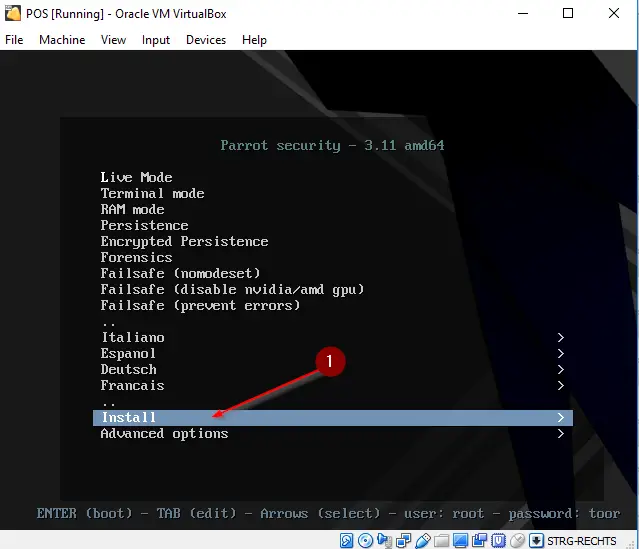
Alright, time to run through the installation process.
In the first Window that comes up choose Install.
Next, choose the Standard Installer. Optional you can choose the GTK GUI installer. I like old school, so I don’t.

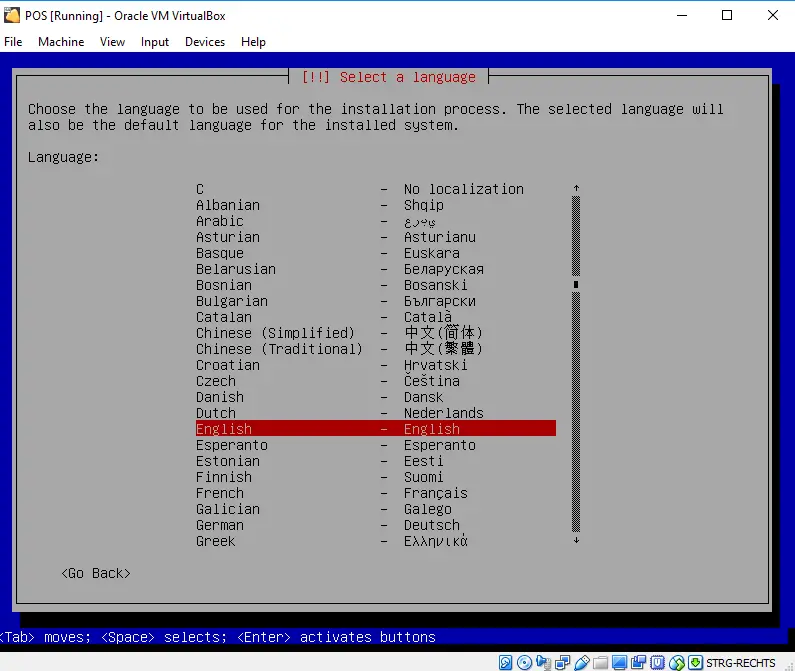
Now we are going through the tedious process of choosing Languages, Locales and Keyboard layouts. I said step-by-step, so we do step-by-step.
If you are familiar with those settings, just skip through, same same but different.
Select your Location next.
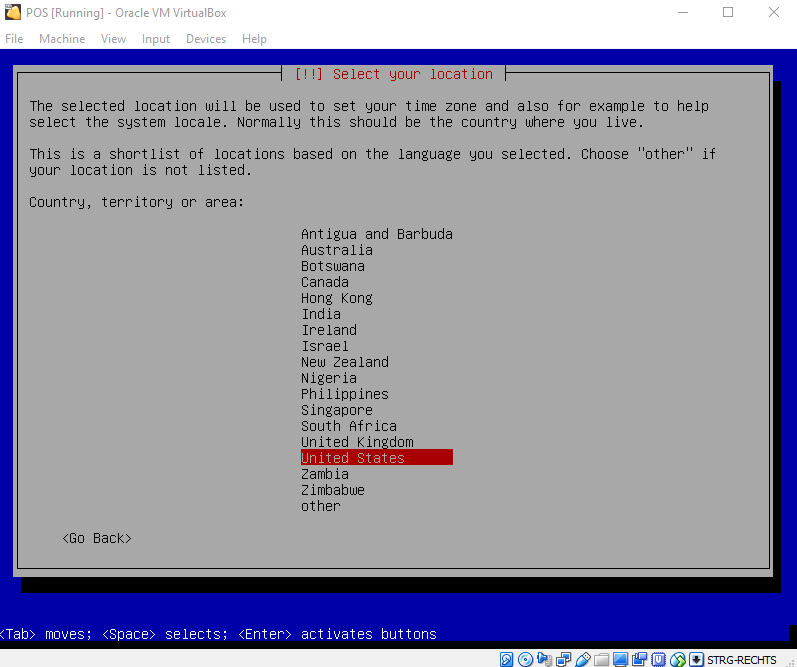
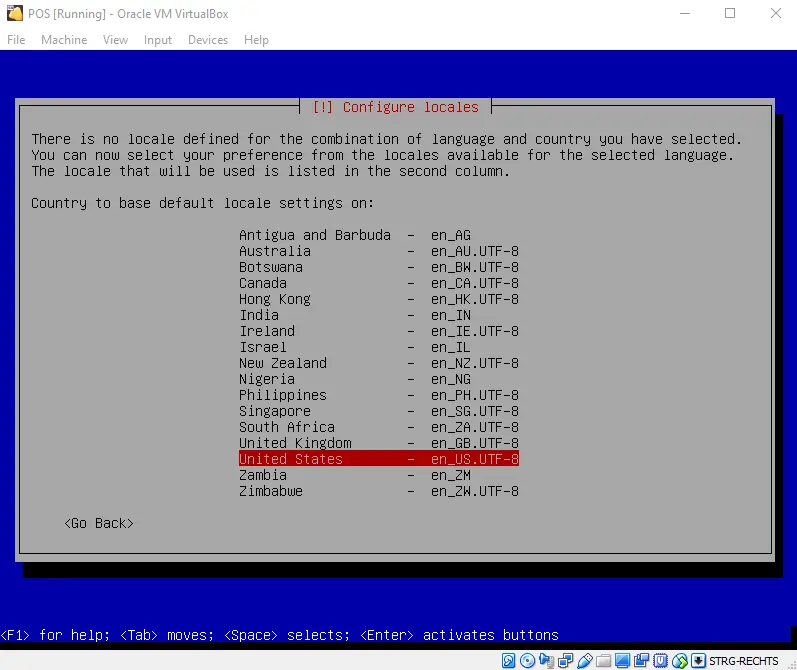
…And select your Locales. If you don’t know what to choose here, just leave it at U S A.
Trust me, we are almost there. Choose a Keymap to use for the installation. It doesn’t really matter, you have to choose it again once the System boots up anyway, don’t know why but it is what it is.

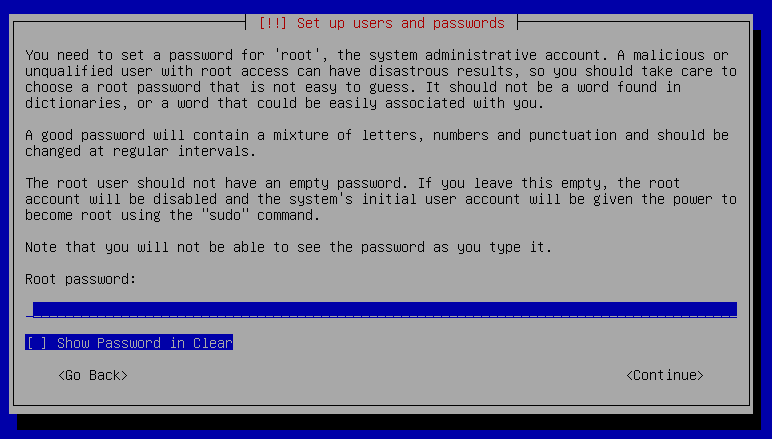
Now set your ROOT password. This is your most important Password, if you are a Windows guy, this is your Administrator Password. Choose wisely.
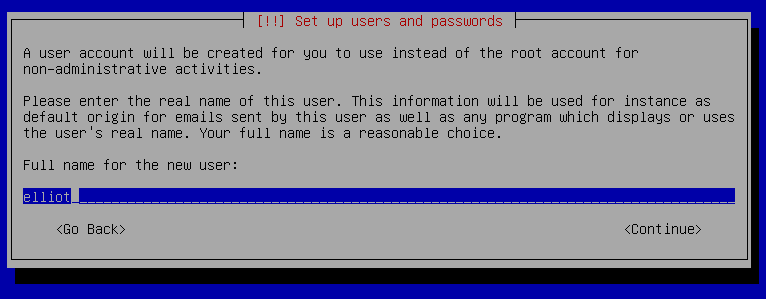
Next, we are creating a User Account for non-Administrative activities. It’s great that this is automatically done in Parrot, in Kali you would need to do this manually. Choose a Username. Don’t use my Username.
Did I already say we are almost there? It was a lie. Now we are almost there.
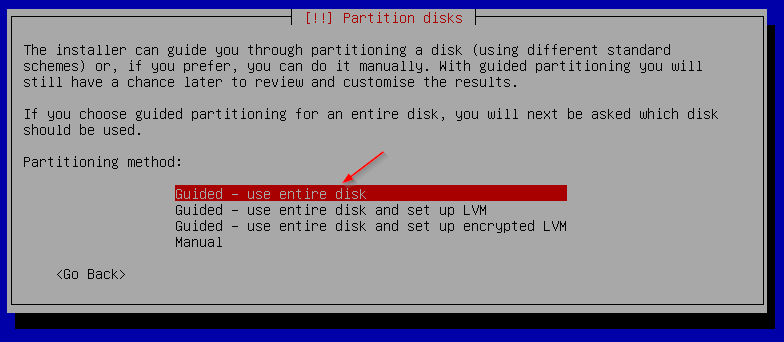
For Partitioning Method choose: Guided – Use Entire Disk.
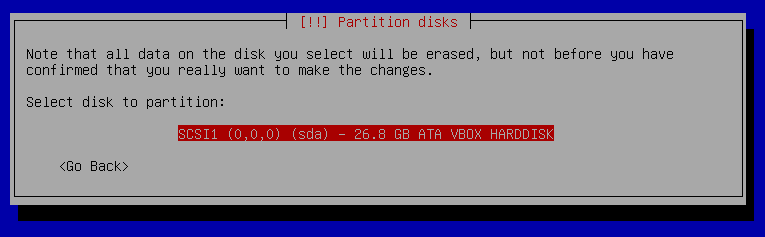
Select your Virtual Hard Disk.
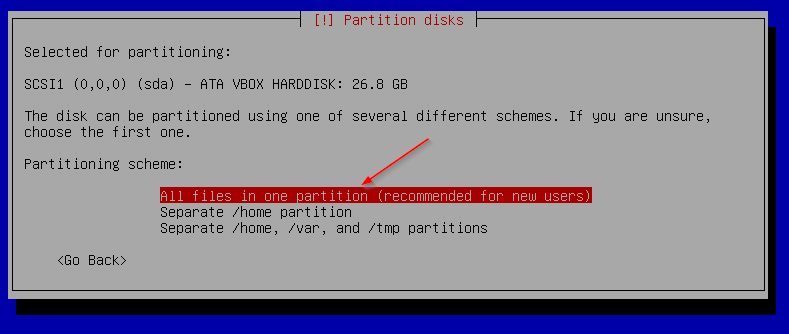
Now we are choosing a Partitioning File. Leave it on All Files in one partition, except you know what you are doing.
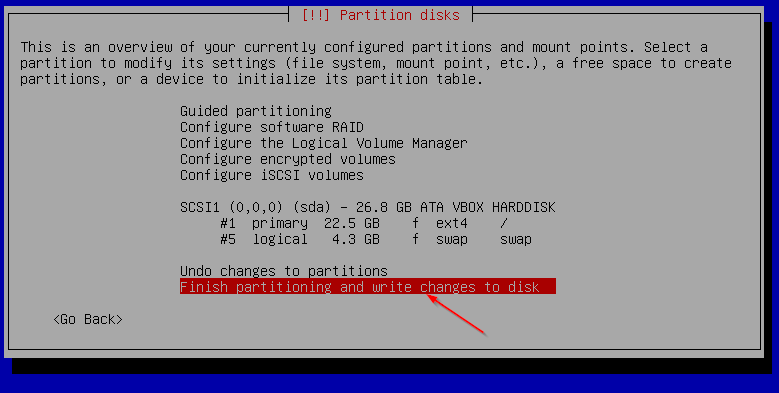
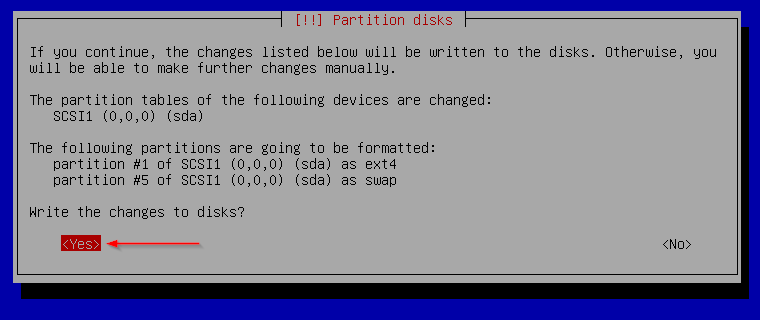
Select Finish partitioning and write changes to disk and confirm the following Warning with yes.
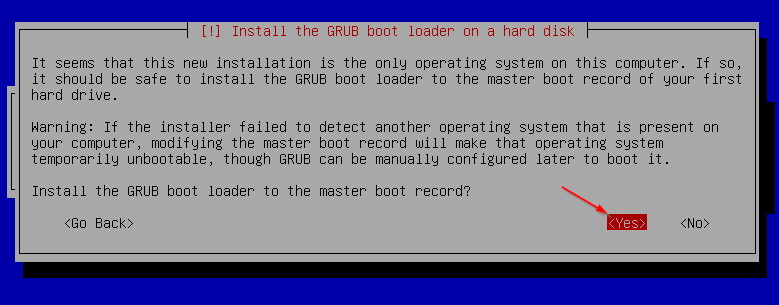
Confirm that you want to install the Grub Bootloader on the Master boot Record.
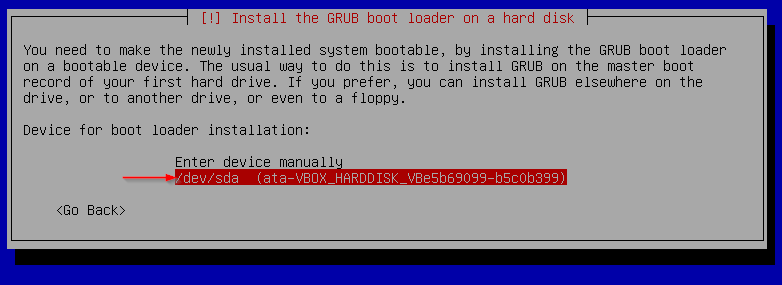
Now choose your VBOX Hard Disk.
Now wait for the installation to finish, it takes around 10 Minutes.
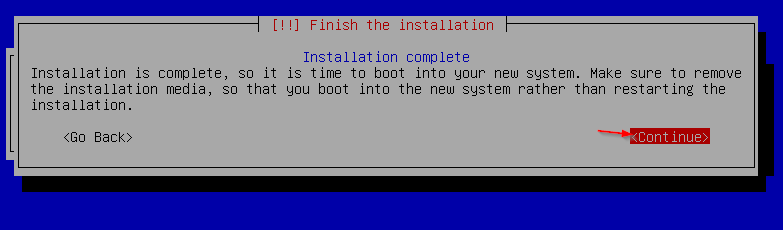
Confirm with Continue to reboot the system.
Congratulations! Initial Installation done!
Step 5: Updating the System
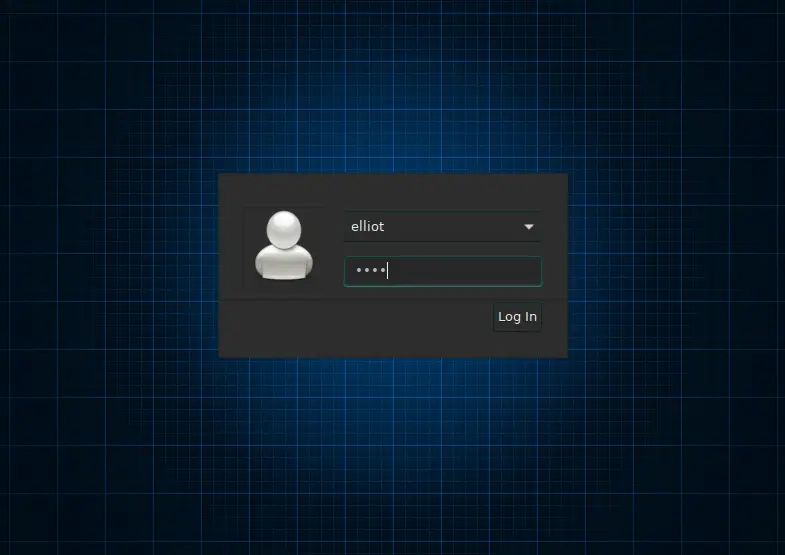
After the reboot log in with the non-root User which you created earlier.
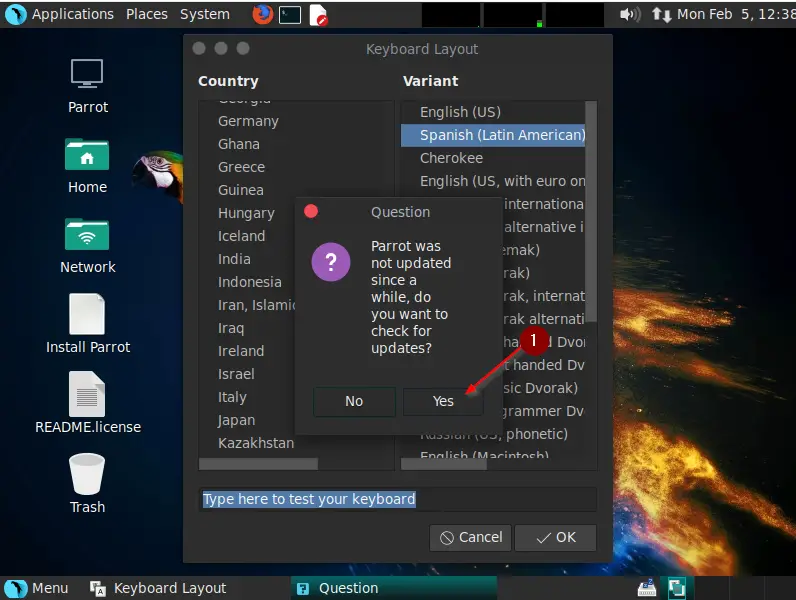
Now it takes a couple of seconds and Parrot asks you to install Updates. Install Updates.
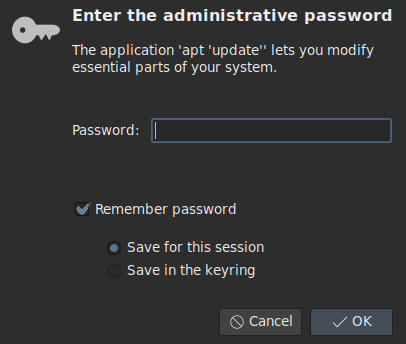
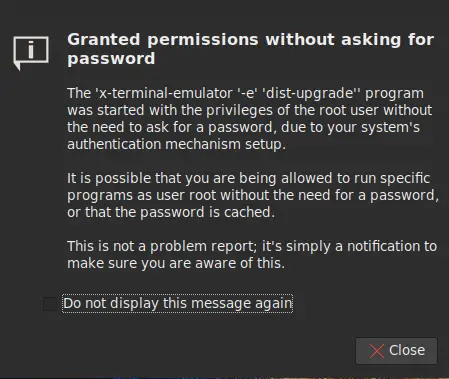
Because you are logged in as a non-root User, administrative tasks require you to enter your Password.
Enter your Password and check to Save it for this Session.
Now let the Update Process run through. It takes a couple of Minutes.
You will get a confirmation that the Update is done, although the Window stays there for eternity if you don’t close the Information Window that hides in the Background.
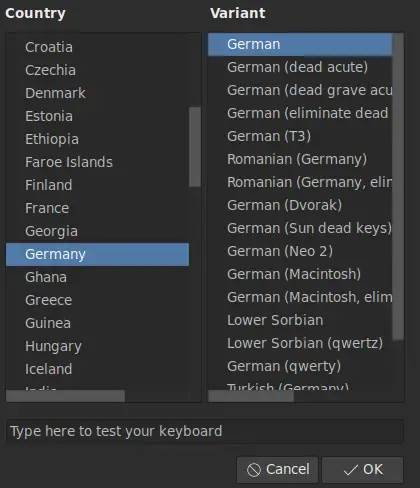
Alright, once that is done, choose your Keymap / Layout once again.
Step 6: Installing VirtualBox Guest Additions
Now we are literally almost done!
Now we only need to install the VirtualBox Guest Additions to enjoy glorious Full-Screen Experience and we are good to go!
Open a Terminal Window.

Enter your Password and type:
sudo apt-get update && apt-get upgrade -y
Your System should be already up to date but let’s make sure.
Now we install the VirtualBox Guest Additions:
sudo apt-get install virtualbox-guest-utils
This is most likely already installed. Continue with:
sudo apt-get install virtualbox-guest-x11
Followed by:
sudo reboot now
After a reboot, you should be able to maximize your VirtualBox Window and experience Parrot in Full-Screen Mode.
You can check if the VBoxService is running by typing:
sudo /usr/sbin/VBoxService -V
And this concludes this tutorial. I encourage you to also visit the Official ParrotSec Documentation.
Conclusion
The ParrotSec installation on VirtualBox is pretty straight-forward. I really like how clean the OS is and that it automatically creates a non-root User and encourages you to use sudo.
I will have a thorough look at it in the next couple of weeks, will even run it as my main distro on my notebook.
You can look forward to more ParrotSec Tutorials in the coming weeks. Let me know in the comments below if you are interested in those.
my installation stucks at 83 % help
I have only Linux 32 gb in my Virtual box(first step),,why not 64gb??I need 64gb
Thanks for a very good tutorial!
Thanks for leaving a comment! 🙂