In this article, you will learn how to install Zabbix on Ubuntu Server 16.04 LTS.
Zabbix is an open-source monitoring software for networks, operating systems, and applications created in Latvia by Alexei Vladishev. It is designed to monitor and track the status of various network services, servers, and other network hardware.
I will take you through the whole process, step by step. To install Zabbix, you first need to install Ubuntu Server 16.04 LTS; I won’t go over this in this tutorial.
Table of Contents
- Step 1 – Updating your System
- Step 2 – Installing prerequisites to be able to Install Zabbix
- Step 3 – Adding the Zabbix Repository
- Step 4 – Time to Install Zabbix
- Step 5 – Configuring the MySQL DB
- Step 6 – Creating the Zabbix Database
- Step 7 – Modifying the Zabbix Config
- Step 8 – Enabling Autostart for Zabbix
- Step 9 – Configuring the Web Interface
- Step 10 – Logging In
- Step 11 – Installing NTP
- Wrapping Up
Step 1 – Updating your System
First things first, make sure your Ubuntu is up to date.
sudo apt-get update
sudo apt-get upgrade
sudo apt-get dist-upgrade -yCode language: JavaScript (javascript)
After this is done, clean up your System.
sudo apt-get autoremove -yCode language: JavaScript (javascript)Step 2 – Installing prerequisites to be able to Install Zabbix
Now you need to install a long list of the necessary software to be able to Install Zabbix. Set and remember the MySQL Password that you will set during this process.
sudo apt-get install dnsutils htop make gcc libc6-dev libmysqlclient-dev libcurl4-openssl-dev libssh2-1-dev libsnmp-dev libiksemel-dev mysql-server libopenipmi-dev fping php7.0-gd snmp libsnmp-base openjdk-8-jdk unixodbc unixodbc-dev libxml2 libxml2-dev snmp-mibs-downloader snmpd snmptrapd snmptt python-pywbem php7.0-ldap traceroute ipmitool libldap2-dev php7.0-bcmath php7.0-mbstring php7.0-xml ttf-dejavu-core -yCode language: CSS (css)Copy this text (just double-click in front of apt to mark the whole line) and paste it in your terminal.
Step 3 – Adding the Zabbix Repository
As of now, the newest Zabbix Version is 3.4 – Which is what we are going to install. You can check for the newest Versions here and adjust accordingly. You also have the option to install the LTS Version of Zabbix.
sudo wget http://repo.zabbix.com/zabbix/3.4/ubuntu/pool/main/z/zabbix-release/zabbix-release_3.4-1+xenial_all.deb
sudo dpkg -i zabbix-release_3.4-1+xenial_all.deb
sudo apt-get updateCode language: JavaScript (javascript)
Step 4 – Time to Install Zabbix
Time to run the Zabbix Installation.
sudo apt-get install zabbix-server-mysql zabbix-frontend-php zabbix-agent zabbix-get zabbix-sender zabbix-java-gatewayCode language: JavaScript (javascript)Step 5 – Configuring the MySQL DB
We will make a few modifications to our MySQL DB.
sudo nano /etc/mysql/mysql.conf.d/mysqld.cnfBelow the [mysqld] tag, paste the following lines, be careful not to overwrite any of the existing lines.
#MySQL Customization
innodb_log_file_size = 512M
innodb_doublewrite = 0
innodb_flush_log_at_trx_commit = 2
innodb_buffer_pool_size = 1G
innodb_support_xa = NoCode language: PHP (php)
Make sure that the innodb_buffer_pool_size is not exceeding your actual RAM. Otherwise, MySQL won’t start.
Leave Nano with CTRL + X and confirm to save with Y.
Let’s restart MySQL.
sudo systemctl restart mysqlStep 6 – Creating the Zabbix Database
While creating the Database, you will be prompted for your MySQL Password that you set earlier.
sudo mysql -u root -p -e "create database zabbix character set utf8 collate utf8_bin"
sudo mysql -u root -p -e "grant all privileges on zabbix.* to zabbix@localhost identified by 'zabbix'"
sudo zcat /usr/share/doc/zabbix-server-mysql/create.sql.gz | mysql -uzabbix -pzabbix zabbixCode language: JavaScript (javascript)
Step 7 – Modifying the Zabbix Config
Open the Zabbix Config.
sudo nano /etc/zabbix/zabbix_server.confFind the following entries (using CTRL+W) and change them accordingly. If some of them have a # in front, remove it. The Values below are recommended Settings for a fresh installation.
DBHost=localhost
DBName=zabbix
DBUser=zabbix
DBPassword=zabbix

StartIPMIPollers=5
StartPollersUnreachable=5
StartPingers=10
StartVMwareCollectors=5
Step 8 – Enabling Autostart for Zabbix
Now, of course, we want Zabbix to start automatically with the System.
sudo systemctl enable zabbix-server.serviceCode language: CSS (css)And also the Agent.
sudo systemctl enable zabbix-agent.service
Code language: CSS (css)
Let’s start Zabbix and check if it’s running.
sudo systemctl start zabbix-server
sudo systemctl status zabbix-server
If all goes well, you’ll see something along those lines. Leave this page by pressing Q.
Step 9 – Configuring the Web Interface
First, we are going to restart Apache.
sudo systemctl restart apache2.serviceCode language: CSS (css)Now you should be able to access Zabbix via your Web Browser by entering the IP or Name of your Server like so: http://YourServer/Zabbix
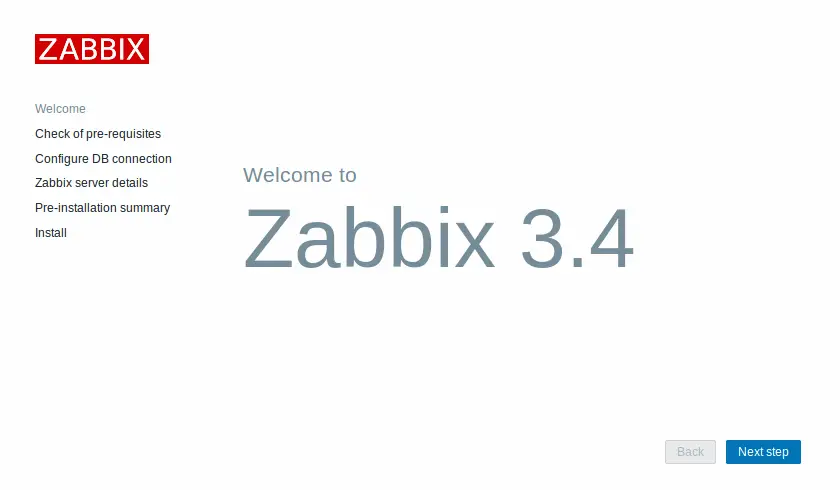
On the Welcome Screen click next.
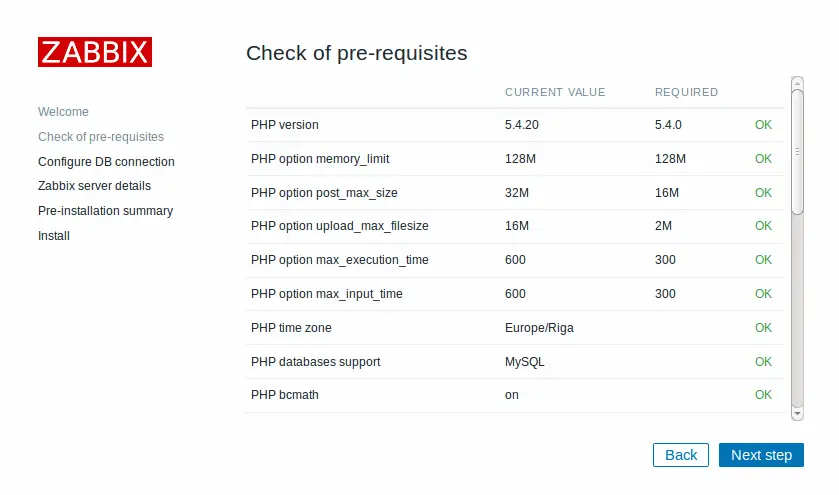
Everything on the Check of pre-requisites page should be green – except the PHP time zone perhaps.
Step 9.1 – OPTIONAL – Adjusting the Time Zone
If PHP Time Zone throws an error for you, adjust your Time Zone by editing the php.ini file.
sudo nano /etc/php/7.0/apache2/php.iniPress CTRL + W and search for date.timezone and remove the ; in front of it. Find your Correct Time Zone here and enter it accordingly. It should look something like this. Save & Exit the file by pressing CTRL +X and confirming with Y.
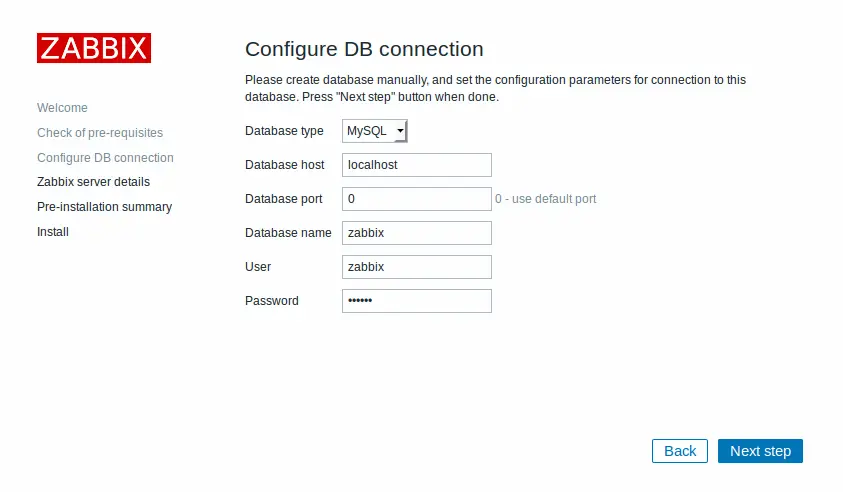
Now we need to enter the Zabbix DB MySQL Credentials. Enter the following.
- Database Name: zabbix
- User: zabbix
- Password: zabbix
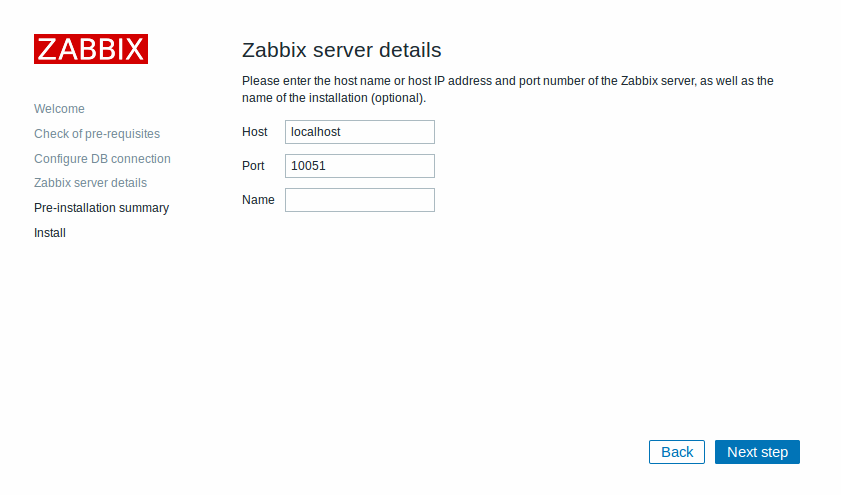
Finally, give your Server a Name, that’s optional but you can name it something like zabbix.YourCompany.com
Step 10 – Logging In
Now we are almost done with the basic Installation. Log in with.
- Username: Admin
- Password: zabbix
Change those ASAP. You are now presented with the Zabbix Dashboard. To wrap up this Installation, we will just install an NTP Manager to make sure our time is always in Sync.
Step 11 – Installing NTP
Let’s install NTP.
sudo apt-get install ntp -y
Code language: JavaScript (javascript)
If you want to modify the Default Time Server, you can do it by modifying the config file.
sudo nano /etc/ntp.conf
But it’s perfectly fine leaving them on default. Restart NTP.
sudo systemctl restart ntp.serviceCode language: CSS (css)You can check your Time Servers using the command
sudo ntpq -pWrapping Up
This concludes the Basic Zabbix Installation. You can now already get a bit familiar with the Settings and the Dashboard. In the next Tutorial, we will configure the rest and add a few clients to get monitored by our Zabbix Server. In the meanwhile, you can check out some other Open Source Tutorials.


1 thought on “Install Zabbix on Ubuntu Server 16.04 LTS – Complete Guide”