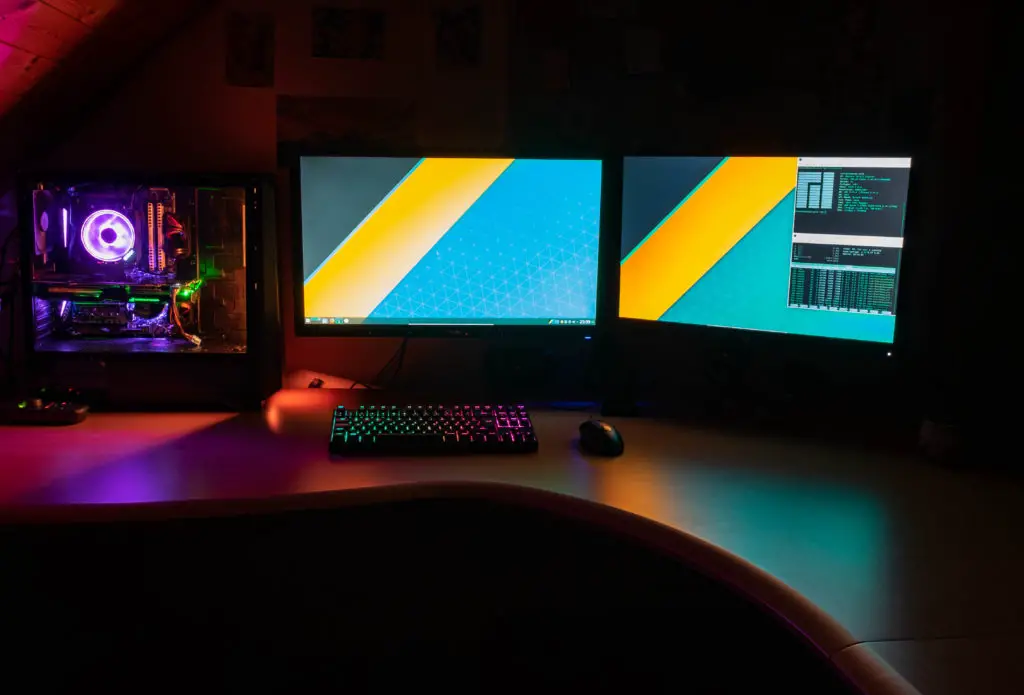
I recently talked about building a new Linux Workstation on my YouTube Channel. I even made a poll on my Instagram Account and the results were that 95% out of ~3400 votes wanted me to make a Write-Up and Video of the Build. So here we are, this is my Linux Workstation Build in early 2019. I will walk you through the hardware I bought and the Operating Systems I am running, which Software I am using and so on.
As soon as I get to editing, there will be a Video of the Build and also, a separate Article on how I set everything up in-depth.
Let’s get started!
Intro
Basically, I was pretty satisfied with my previous Build until last Summer. We get to that in a minute. I bought all of the components of my previous build around 2012 and didn’t upgrade anything except the GPU somewhere in 2017.
The Previous Build
- Core i5-3570k
- Asus ROG GeForce Strix 1060-O6G
- be quiet! Pure Power 600W
- ASRock Z77 Pro3
- Phantek Eclipse P400S Case
- Samsung Evo 850 250GB
- Samsung Evo 850 500GB
The build served me very well until the Spectre and Meltdown patches hit Windows 10 sometime last Summer. I experienced Performance Decrease of 50+% in some Applications. I also picked up a copy of Battlefield 5, the performance was terrible, so I thought it’s time to finally upgrade. Also, I wanted to have
My initial idea was to set up a Dual-Boot environment with two different SSD’s, one dedicated to Windows 10 and one to Linux, I run the same setup at work. Although, I decided against it in the end and I will explain to you why further down in the article.
The New Build

I have to admit, I was an Intel and Nvidia Fanboy for the longest time. I have had one AMD processor in my life, back in ~ 1998 or so.
That experience crippled my opinion of AMD for life, or so I thought at least. I never had any problems with my previous build, so my initial decision was: It has to be Intel!
The only processor fitting my Budget would have been the i7-9700k, but it was priced at a whopping 461 € when I wanted to buy.
I researched further and found out that they disabled Hyper-Threading. That certainly wasn’t very good for my use-case. I wanted to build a Workstation / Gaming PC. It should do well for both. Because I run several different VM’s at the same time when I record my Tutorial Videos, I couldn’t really justify buying a processor with “only” 8 cores/threads and the gap to the i9-9900k was way too big.
So I talked to a friend of mine who is a strong proponent of AMD. He tried to convince me of the newest Ryzen Generation being the best fit for my case. Following Level1 Techs and Gamers Nexus on YouTube, I was quickly convinced. And to get 8 Cores / 16 Threads with the Ryzen 2700X definitely sounded tempting to say the least.
I decided to keep a few parts of my old Build: GPU, Power Supply, Case and my Samsung SSD‘s.
I had to decide which Mainboard, CPU, RAM, and NVME SSD to buy, because I wanted something faster for Video Production for my Linux Workstation Build.
Let me walk you through my new Build.
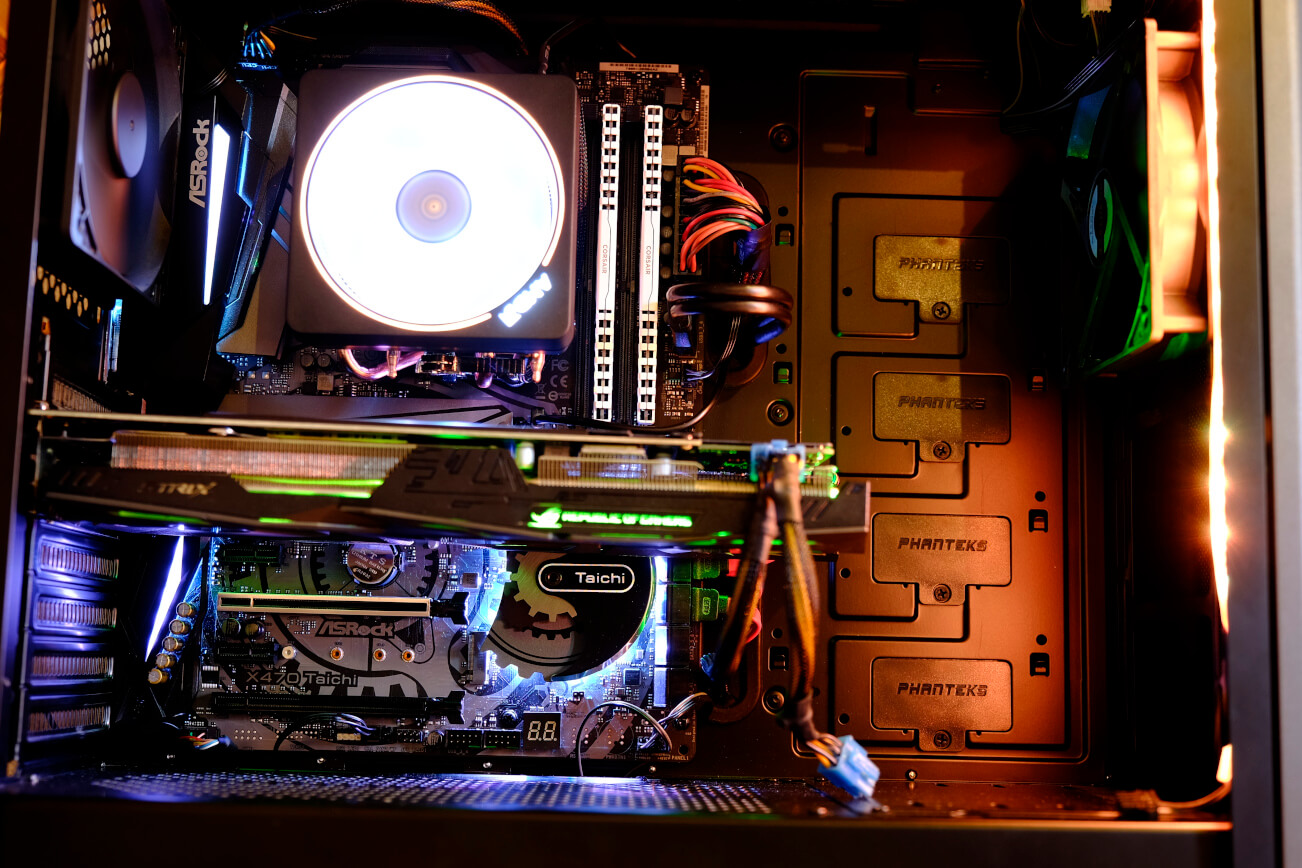
- Mainboard: ASRock X470 Taichi
- CPU: AMD Ryzen 7 2700X
- RAM: Corsair Vengeance LPX 32GB (2x 16GB) DDR4 3200MHZ C16
- NVMe Win10: 500GB Samsung 970 EVO NVMe M.2 SSD
- SSD Linux: Samsung EVO 850 250GB
- SSD Gaming: Samsung EVO 850 500GB
- GPU: Asus ROG GeForce Strix 1060-O6G
- Case: Phantek Eclipse P400S
For the Mainboard, I based my decision on a thorough video from Gamers Nexus. He compared all the X470 Mainboards for Ryzen in 2018 and the X470 Taichi sounded best for my use-case.
For the CPU, the 2700X was the obvious choice because I also wanted to use this machine for Gaming, therefore, Threadripper wasn’t an option.
I chose the RAM because it was on the Supported RAM list from the X470 Taichi when I first looked it up, although after ordering it, literally one day after, oddly the RAM disappeared from their list. They probably did some re-testing or got some reports that the RAM doesn’t actually runs at 3200MHZ but only at 2933. After installing the build and running the RAM on 3200 MHz, I recognized system instability. I clocked it down to 2933, using the proper XMP Profile, and the error was gone.
Now, for me, it does not matter, because this was still the cheapest RAM available with those specs.
All other supported 3200MHz Modules were far beyond the 350€ mark. This one was “just” 264€. I decided to keep it, I can probably get it up 3200MHz if I manually play with the timings and voltage later on.
OS Choice and Running Linux in a VM

For me, it was clear from the beginning, that this Linux Workstation Build is going to be a Dual Boot Build, at least it was my initial intention. I still need Windows 10 for Gaming and some Video Production stuff, but I also wanted to have a fully dedicated Hard Drive for Linux only. Now, on my computer at work, I use Linux Mint as my daily driver for almost a Year in Dual Boot with Windows 10 for some occasional maintenance jobs. I also run Manjaro (Arch Linux) on my Laptop, which I really love.
I thought, let’s try something new. I checked Distrowatch and decided to try MX Linux. I installed it on my Linux SSD.
Unfortunately, after fighting with Fancontrol for about 5 hours, I ditched it again. I just couldn’t get my fans to spin down using the EFI Fan curve or even re-configure them with Fancontrol on Linux. Out of some reason Fancontrol couldn’t recognize my sensors. I also didn’t really like the MX Linux Desktop Environment.
Because I wanted to have a clean Linux Distro for Programming and some Production work, I decided to try Elementary OS next.
So, in the beginning, I was running:
- Windows 10 on my NVMe SSD
- Elementary OS on my Linux SSD
I tried out Elementary OS for a few days but I just couldn’t get warm with it. Too many things didn’t work, and no button to minimize Desktop Windows inside of the OS out of the box, I mean, really?!
Also, I somehow found it inconvenient to Dual-Boot back and forth between Windows 10 and Linux all the time because I still use Windows on a daily basis at home. I had this picture in mind that I would mostly use Linux anyway, but because my workflow is still heavily relying on Windows (Video Production, Gaming, etc), I found myself rebooting way too often and finally decided to ditch Dual-Boot.
I thought, I have more than enough computing power to just run my Linux Distro within VirtualBox on top of Windows 10. Thanks to VirtualBox’s Fullscreen Mode, you don’t even recognize you are working in a VM if you don’t want to. So instead of using the 250GB SSD for Dual-Boot, I formatted it and use it to store my VM’s, so I have plenty of space dedicated to them. Not bad at all!
Plus, of course, you have the glorious Snapshot function of VirtualBox, allowing you to secure your carefully tailored OS on a regular basis.
Because I was still using Manjaro on my Laptop on a daily basis, I had a really strong pull towards it and decided to use it as my Linux VM. I set it up so I can use both of my screens in VirtualBox’s Fullscreen Mode by the click of a button. Excellent!
Conclusion after 1 months of using the Build
I have to say I am very pleased so far with my Linux Workstation Build. The CPU is lighting fast, boot times with the NVMe SSD are below the 7-second mark and everything just works. The Gaming Performance and VM Performance is incredible. I know that this isn’t a pure “Linux Workstation Build” anymore, because I basically run Linux “only” as a VM, but for me, it is, because I actually use Linux on a daily basis, the only difference is that Windows is running below. Not really an issue for me.
I can run multiple VM’s and still have enough cores & memory left for the host system. Video encoding is extremely fast compared to my old system and working on Linux on a fast system like this is a blast.
It is very convenient to just run your Linux in a VM, I use Manjaro for Software and Web Development on a daily basis and haven’t had any issues so far. I will write a follow-up article after using the build for a bit longer. If you are interested in any topic, in particular, let me know in the comments below!
Also, if you have actually rebuilt this build, give me a shout-out and send in some pictures!


Nice work ! I had the same opportunity and the same throughts about Linux on a daily basis – too many things didn’t work as it on Windows… so backwards on Win 10 and a Linux VM to rules the world !
You can see my build here (in french) : https://computerz.solutions/bloglife/
Hey man, thanks for leaving a comment! Checking it out!