After just writing an Article about Creating a Bootable USB Drive with Rufus (Which I personally use for Years), I stumbled upon LinuxLive USB Creator, a free Open Source USB Creator to create a Live Linux System that you can boot from a USB Drive. It really looked interesting and I wanted to give it a shot, creating a little LinuxLive USB Creator Tutorial and Review at the same time.
Table of Contents
- What makes LinuxLive USB Creator interesting?
- Creating a Bootable USB Drive with LinuxLiveUSB Creator
- Step 1 – Choose your USB Drive you want the Image to be written on
- Step 2 – Choose A Source
- Step 3 – Persistence
- Step 4 – Options
- Step 5 – Create
- Conclusion
What makes LinuxLive USB Creator interesting?
Next, to just downloading the Image manually like you need to do with every other USB Creator, LinuxLive USB Creator gives you the option to choose from a selection of Distributions and Download them right within the Tool. Unfortunately, most of the Distributions from that list are outdated.
But let us walk through the Creation Process together in this LinuxLive USB Creator Tutorial below.
Creating a Bootable USB Drive with LinuxLiveUSB Creator
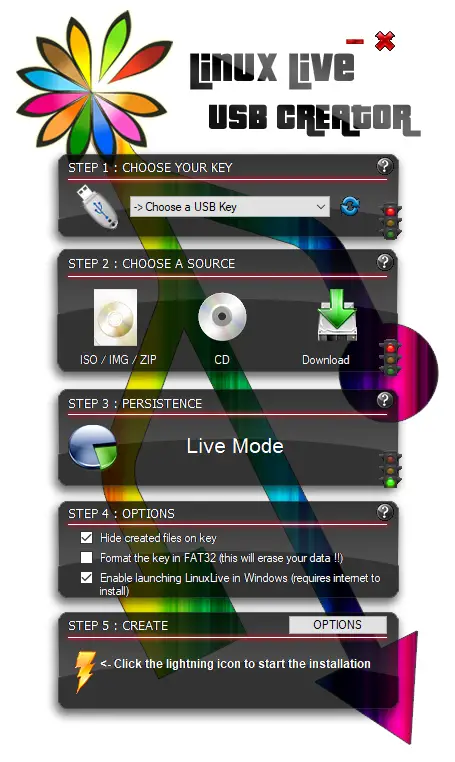
After opening the Tool, you are presented with a clean & nice interface.
Step 1 – Choose your USB Drive you want the Image to be written on
Select the correct USB Drive, and be aware that everything on it get’s deleted. This is the same as in every other Tool.
Step 2 – Choose A Source
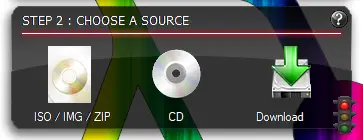
Now, this is where things get interesting! You have 3 Options here:
- ISO / IMG / ZIP
- CD
- Download
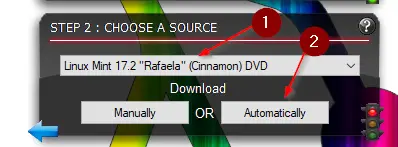
You can either download your ISO the classical way, by yourself, you can use a CD, or, use the Download Feature within the tool, which is what we are going to do. After clicking on Download, you get presented with a huge list of (mostly a little outdated) Distributions to choose from.
For this Tutorial, I am going to choose Linux Mint 17.2 and click on Automatically.
After clicking on Automatically, you have to choose a folder where to save the ISO File, and the download begins.
Step 3 – Persistence
Usually, on a live CD or Live USB key, all modifications are discarded when you reboot.
The persistence allows you to keep your preferences and data even after the reboot.
The data are stored in a special file called casper-rw (for Ubuntu) and overlay-USBLABEL-UUID (for Fedora). This is a completely transparent process for the user.
Usually, 300 MB is enough to install some software but you can use more. I’ll give it 4090 MB because my USB Drive is big enough.
Step 4 – Options
We are going to leave the Options here on default.
Step 5 – Create
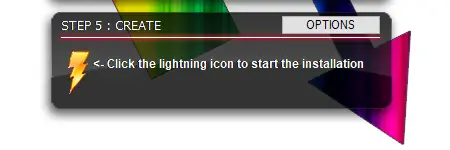
Finally, click on the Lightning Bolt to start the Imaging Process.
After a couple of minutes, you are presented with a Bootable Live USB Drive with Linux Mint. This concludes the LinuxLive USB Creator Tutorial.
Conclusion
Unfortunately, LinuxLive USB Creator was last updated in 2015, which explains the outdated Distribution list. It would be a great tool if that list was updated. But as it is now, I don’t see any reason to use LinuxLive USB Creator over Rufus.
I hope someone picks up development and continues to develop this tool.


