This tutorial shows you how to Install Anaconda on Ubuntu, the Open Source distribution of the Python and R programming languages for Data Science and Machine Learning related Applications. The Packages are managed by the Package Management System Conda.
Table of Contents
- What is Anaconda for Python?
- Is Anaconda Compatible with Ubuntu?
- How to install Anaconda on Ubuntu
- Create Anaconda Environment
- Summary
What is Anaconda for Python?
Anaconda for Python is a powerful programming language and development environment that professional programmers around the world widely use. With Anaconda, developers can create complex applications using a wide array of custom libraries and tools.
Anaconda provides users with a simple graphical interface for writing code as well as features like debugging, testing, and version control. Additionally, Anaconda boasts an extensive community of users who can provide support and resources to help you get started or troubleshoot any issues that you may encounter along the way. Whether you are a beginner or an experienced programmer, Anaconda is the ideal tool for creating robust and reliable applications in Python.
Is Anaconda Compatible with Ubuntu?
Anaconda is a popular Python programming environment that many developers use to create and manage their projects. However, many users have been asking the question: is Anaconda compatible with Ubuntu? There is no easy answer to this question, as there are some factors that can influence compatibility. For example, it may depend on which version of Python you use in Ubuntu or whether specific libraries or packages need to be installed to get Anaconda up and running.
Ultimately, it is best to consult the official documentation for both Anaconda and Ubuntu in order to determine if they are truly compatible. That said, most users report that they have successfully set up Anaconda alongside Ubuntu without any issues, making it an attractive choice for anyone working with both Python and Linux systems.
How to install Anaconda on Ubuntu
Installing Anaconda on Ubuntu is straightforward. We just need to follow through with a few steps. In this example, we are using Ubuntu Desktop 22.04 LTS, but the same procedure will work on any other Ubuntu version, including Ubuntu Server.
Step 1 – Downloading the Anaconda Installer
First, we need to download the Anaconda installer. Click on the following link and save the file inside of your Downloads folder:

Step 2 – Opening the Terminal
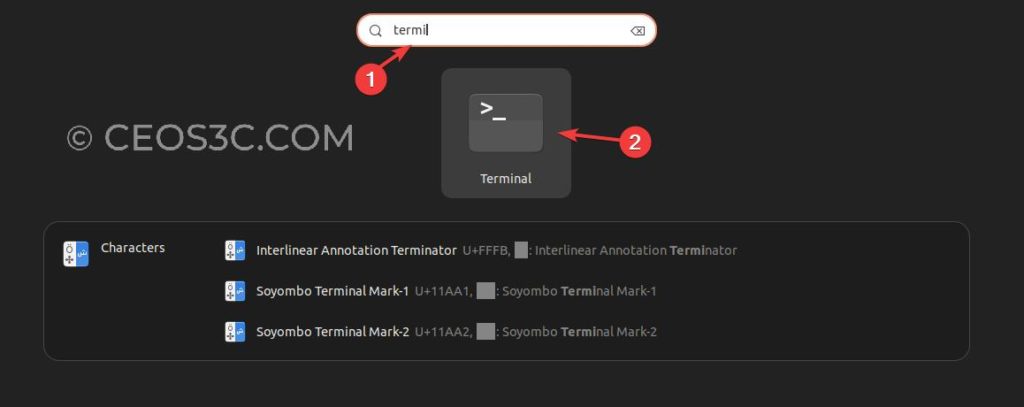
Now we need to open the Ubuntu terminal. The easiest way to do this is by pressing the Windows key on your computer to open the search and then typing: terminal. Click on the terminal icon to open it.
Step 3 – Updating the System
As always, first, make sure your System is up to date.
We can do this by running the following:
sudo apt update -y && sudo apt upgrade -yCode language: Bash (bash)
Step 4 – Install Anaconda on Ubuntu
Now we can go ahead and install Anaconda on Ubuntu. To do that, simply run the following syntax:
bash ~/Downloads/Anaconda3-2022.05-Linux-x86_64.shCode language: Bash (bash)As you can see, this installs a specific version (2022.05). Of course, version numbers will change, so make sure you adjust the command according to the Anaconda version you’ve downloaded.
An easy way to circumvent this is by typing: bash ~/Downloads/Anaconda and then hitting the tab key for auto-completion!
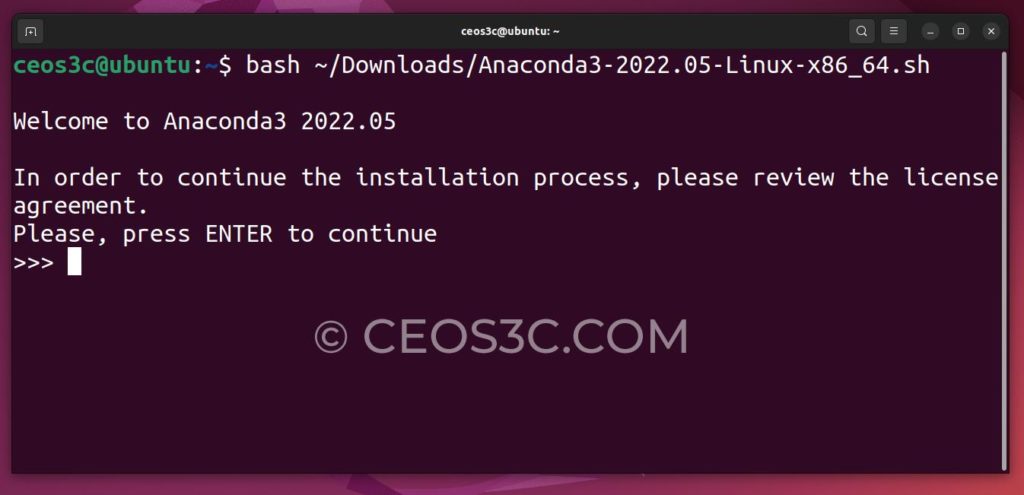
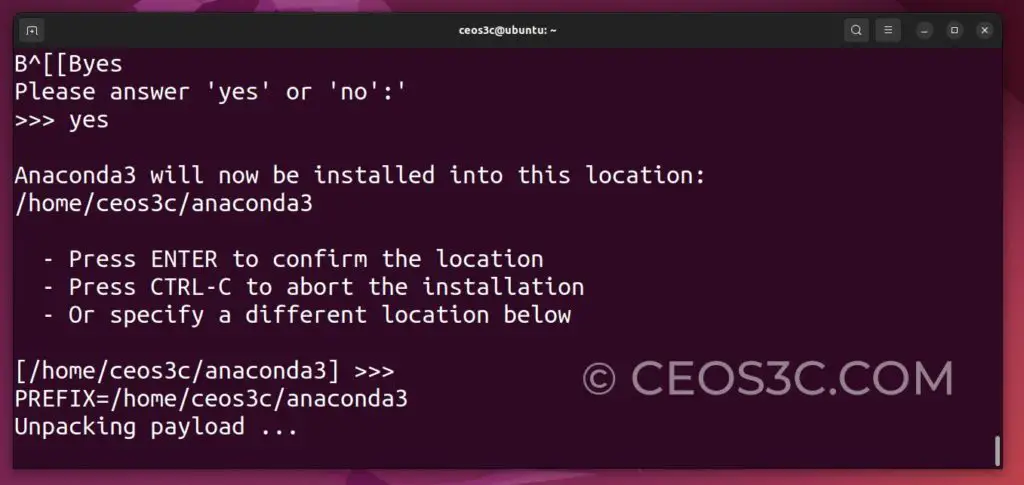
After pressing Enter, scroll through the license agreement by using your arrow keys and when you reach the end, write yes into your terminal window and press enter to accept them.
After this, you will get asked where you want to install Anaconda on Ubuntu. You can just leave this as default and press enter to start the installation.
Step 5 – Activating the Installation
After the installation process is finished, type yes into the terminal a final time to run conda init:
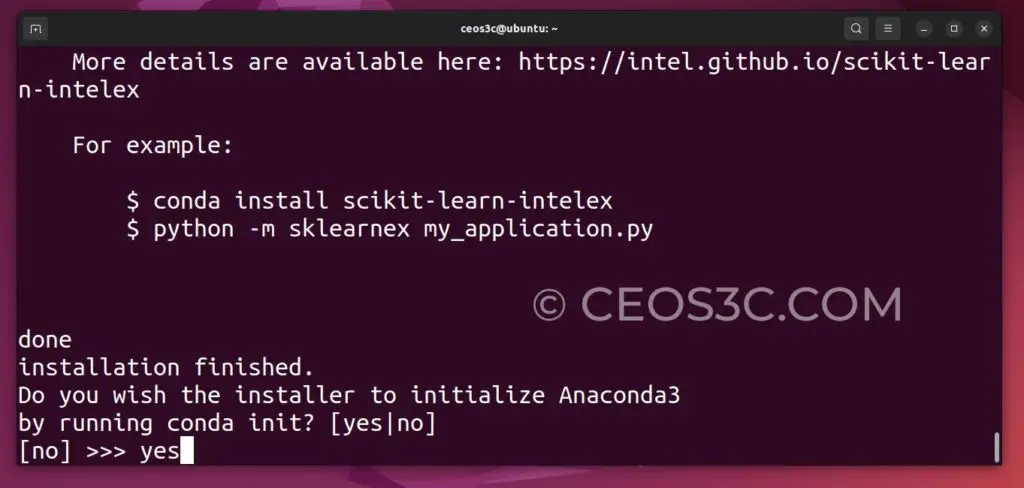
And run the following command to be able to use Conda commands:
source ~/.bashrcCode language: Bash (bash)Or if you use ZSH, use:
source ~/.zshrcCode language: Bash (bash)Step 6 – Testing the Installation
We can use the conda list command to test if our installation & activation was successful:
conda listCode language: Bash (bash)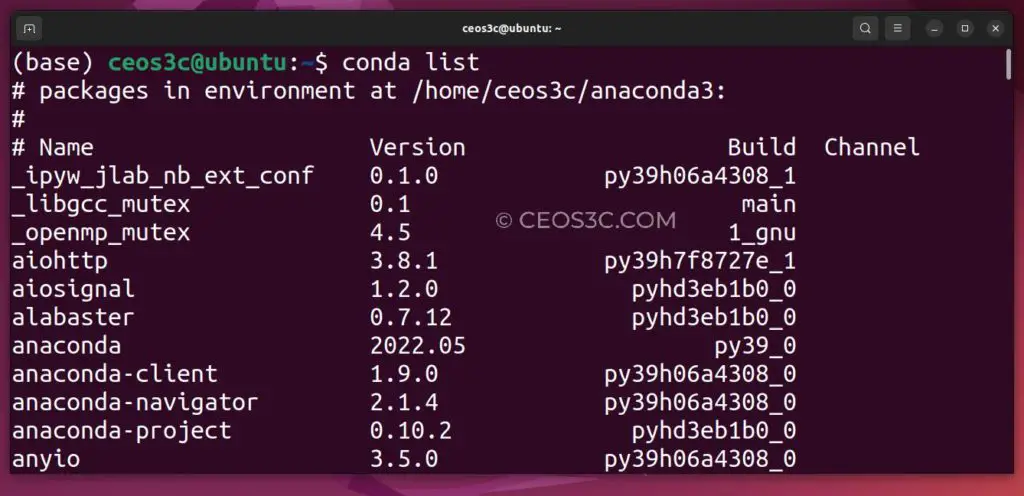
Step 7 – Update Anaconda
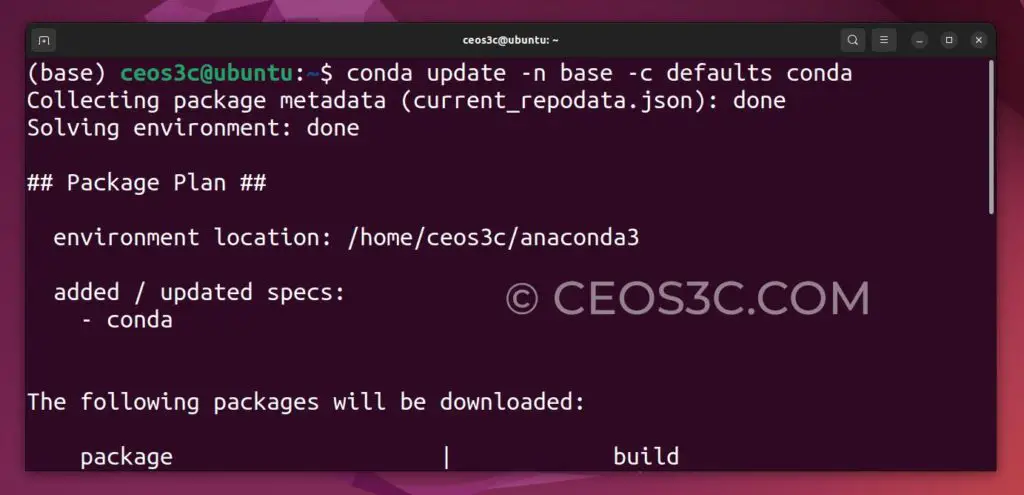
To make sure we are running the latest version of Anaconda for our environments, run the following:
conda update -n base -c defaults condaConfirm with y if you get asked if you want to proceed.
Create Anaconda Environment
Now we can create a new development environment. Hit y to proceed after entering the command below.
conda create --name new_environment python=3Code language: Bash (bash)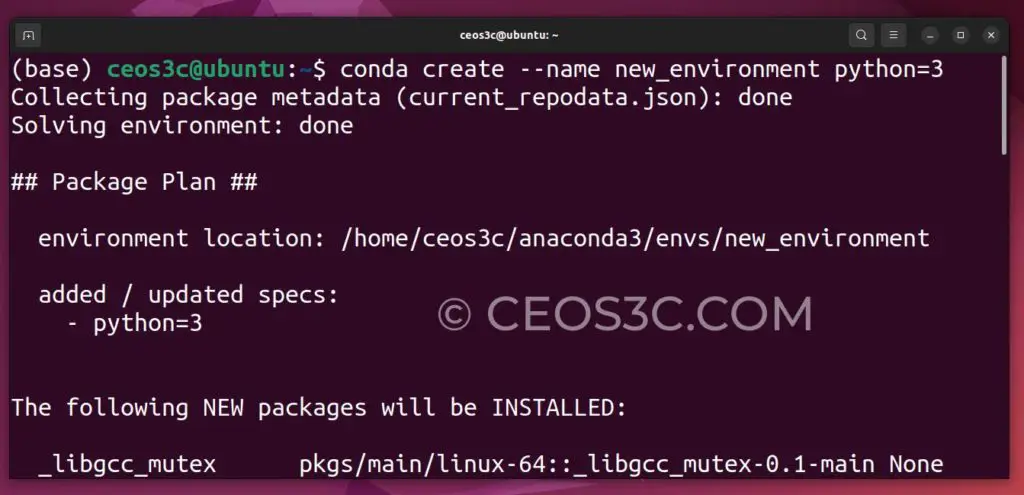
Activate Anaconda Environment
And finally, we activate the environment.
source activate new_environmentCode language: Bash (bash)
Summary
This is everything you need to do when you want to install Anaconda on Ubuntu. You should now have a fully working Anaconda Environment within a few simple steps. To summarize:
- You need to download Anaconda
- You need to install Anaconda
- You need to activate the Anaconda installation
- You need to update Anaconda
🐍 Learn Python Programming
🔨 Python Basics
👉 Python Syntax
👉 Python Variables
👉 Python print()
👉 Python input()
👉 Python Constants
👉 Python Comments
⚙️ Python Specifics
👉 Filter Lists in Python
👉 Replacing List Items in Python
👉 Create a GUI in Python
👉 Find out the Length of a String in Python
👉 Enum in Python
👉 Python Inline If/Else One-Line Statements
👉 Python xrange()
👉 Python List Slicing
🏋️ Python Exercises
👉 Python Exercise Collection


thanks a lot. be blessed ever
This tutorials is very helpful for machine learning………!!Thanks lots………………..!!!!!
Welcome 🙂
I had the same problem. The problem is pressing Enter instead yes here:
Do you wish the installer to prepend the Anaconda3 install location
to PATH in your /home/pavlenty/.bashrc ? [yes|no]
[no] >>>
Try to update anaconda with “bash Anaconda3-5.0.1-Linux-x86_64.sh -u”. This time you should enter yes.
I got the same message but it was resolved when I ran the command:
export PATH=/home//anaconda3/bin:$PATH
Note: Remember to change accordingly!
conda list
command not found