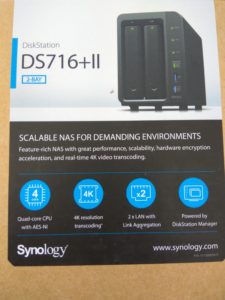
This is the start of a mini-series geared towards the Synology DS 716+ II NAS System. I will guide you through a Synology DS 716+ II Basic Installation in this first part.
Later we will look into creating File Shares and integrating the NAS into our Domain for easier File Share Management and other fun stuff.
This is my first Synology NAS, I only have worked with FreeNAS Systems and professional corporate NAS Systems from QNAP before, so I am very excited to look into it myself.
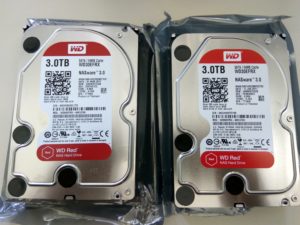
I ordered 2 WD Reds 3TB Drives with it, make sure to order your hard drives from different shops to not have 2 drives from the same batch (because hard drives tend to die at the same time).
Unpacking and Hard Drive Installation
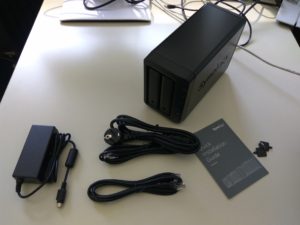
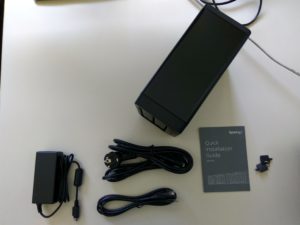
Package Contents:
- The NAS Enclosure
- Power Adapter
- Ethernet Cable
- Keys to lock the Drives
- Quick Start Guide
Some Hard Drive Options for you to choose from (All on Amazon)
WD Red options
- WD Red 1TB NAS Hard Disk
- WD Red 2TB NAS Hard Disk
- WD Red 3TB NAS Hard Disk
- WD Red 6TB NAS Hard Disk
- WD Red 8TB NAS Hard Disk
Seagate NAS HDD options
- Seagate 1TB NAS HDD
- Seagate 2TB NAS HDD
- Seagate 3TB NAS HDD
- Seagate 4TB NAS HDD
- Seagate 6TB NAS HDD
- Seagate 8TB NAS HDD
- Seagate 10TB NAS HDD
- Seagate 12TB NAS HDD
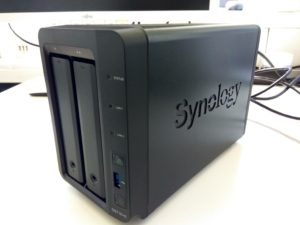
The NAS from the front:
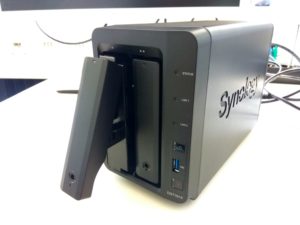
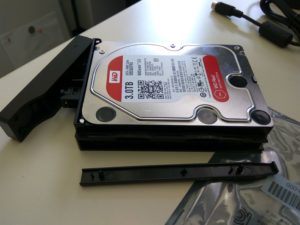
And how to insert the Hard Drive into the Drive-Bay:
Now that we have set everything up, we can connect the NAS to our Network and fire it up. Let’s continue with the Installation.
Synology DS 716+ II Basic Installation
As you could have guessed, the installation process is easy enough.
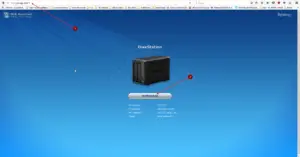
After attaching the NAS to your Network, open a Web Browser and enter the URL:
http://find.synology.com
And your NAS will be automatically found, of course, if you have DHCP enabled and your NAS is able to receive an IP Address.
Alternatively, you can enter the URL:
http://diskstation:5000
Once that is done, you end up in the Synology Basic Installation Wizard.
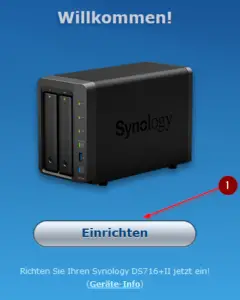
Once there, click on Connect. I couldn’t set it to English so the first few steps will be in German on the Screenshots, sorry for that.
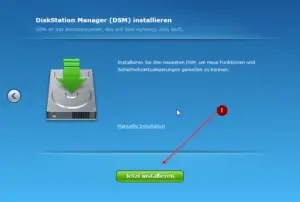
Click on Setup on the next Step:
Now we will Install DiskStation Manager (DSM) which is Synology’s Operating System.
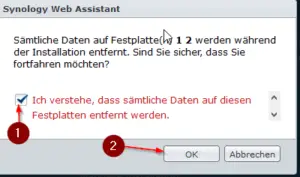
Click on Install Now and be aware that everything on the Hard Drives will be deleted, which you will confirm again in the next Dialogue.
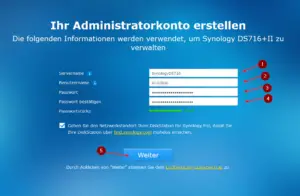
Next, you have to set a Hostname, Username and Password, click on Next afterward.
In the next Dialogue, you can choose if Operating System Updates should be applied automatically or if you want to choose if you want to install them or not. I always choose for Manual Installation.
Also include regular S.M.A.R.T. tests, which is checking the health of your hard drives.
Hit Skip on the next Window that asks you for a QuickConnect Account, except you, want one, I use DynDNS but my NAS will not be reachable from the Internet anyway.
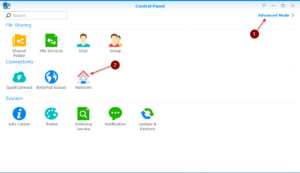
After this is done, Click on Control Panel and enable the Advanced Mode in the upper right corner, then click on Network.
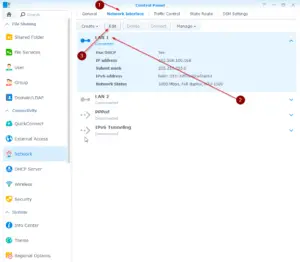
Select the interface that is connected to the Network (e.g. LAN1) and click on Edit.
Enter an IP Address of your desire or alternatively assign a static IP Address to the NAS via your DHCP Server.
I always want to use a static IP Address for my Network Devices.
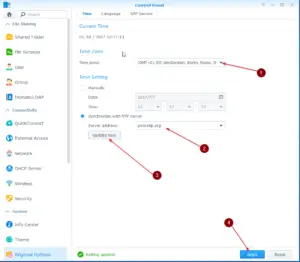
Next, we want to make sure that we are on the correct Date & Time and have a proper Time-Server selected.
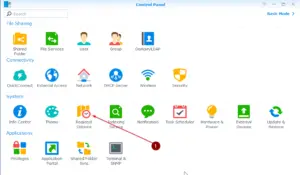
Navigate to Control Panel again and click on Regional Options
I use the same Time-Server on all my Network Devices so I can make sure that I have the same time everywhere.
And that’s about it with what I see as the Basic Installation:
- Change Hostname
- Change Password
- Change IP Address
- Change Time-Server
Now we will be able to move on from here. So far I wasn’t able to test much but will do over the weekend.
The next tutorial will include Domain Integration and create our first Share, so stay tuned for the next one! Subscribe to get informed about it.


