Today I will quickly show you how to upload files to Amazon S3 in a few easy steps.I mainly use Amazon S3 to back up my Photography in a long-term storage. If you use Glacier, it is so dirt cheap that it’s not even worth buying an external hard drive. But always keep in mind, you should always have 3 Backups of your files. I run with: My NAS, external off-site Hard Drive and on AWS. Never failed me so far.
So without further ado, let’s get to it.
Creating a Bucket and uploading files to Amazon S3
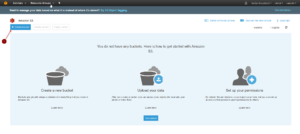
Log in to your Amazon Web Services Console and navigate to S3.
If you haven’t already, as a first step you need to create a new bucket. Click on create bucket.
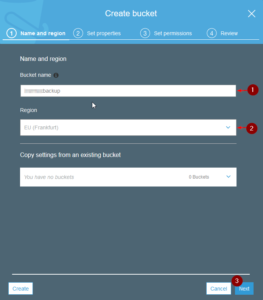
Choose a Bucket Name and a Region. Be aware that storage prices vary from Region to Region.
You can also Copy settings from an existing Bucket if you want.
Don’t worry about Storage Classes yet, it will come when we upload files.
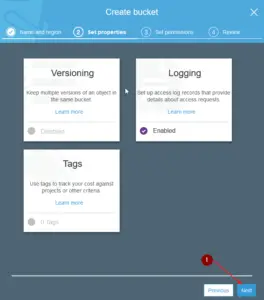
Next, you can choose Versioning, Logging, and Tags. I only use Logging as I do not need the other 2 for my files.
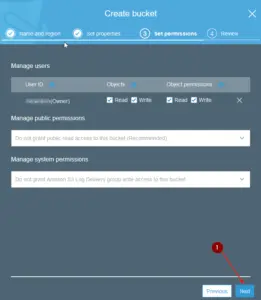
Now you can give permissions to existing IAM Users. Adjust and click Next.
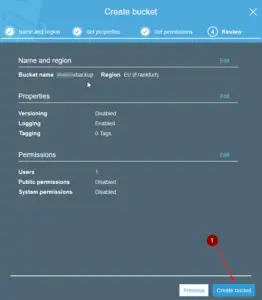
Review your settings and click on Create Bucket.
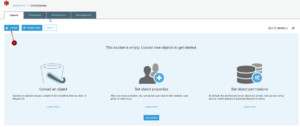
Now you can see your newly created Bucket on your Bucket list (lol). Click on it.
Click on Upload in the upper left corner.
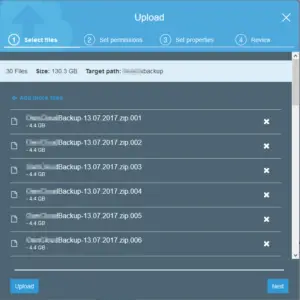
Be aware that you have to split your files into multiple files to be able to upload to S3.
You have to split your files into parts of max. 5GB each. You can do that using 7zip.
I split the 130GB File into 4,4GB parts.
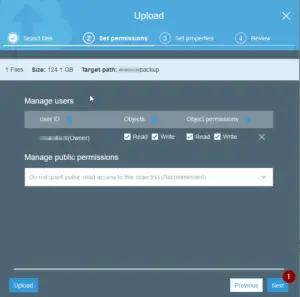
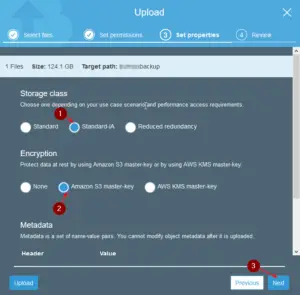
After clicking Next you can choose specific permissions again.
Now you can choose your Storage Class. This highly depends on what you want to do with the files.
You can read upon Storage Classes here.
Choose an Encryption of your liking.
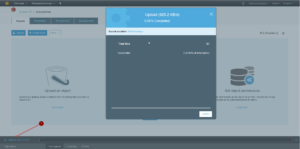
After that, your files start uploading. You can click on Upload on the lower left corner to see the progress.
And this is it already. Within just a few steps you created a Bucket and started to upload files to AWS.
If you enjoy this content please consider supporting me on Patreon to keep them coming 🙂


